Saturday, May 25, 2013

Hidden audio system installed!

Took the morning while my wife watched the kids.
Climbed in the trunk and installed the 6x9's.  Cleaned up the radio wiring harness and put everything back together.  It is awesome.

The Custom Autosound kick panels fit perfectly. 

Its awesome to drive around with music finally!

Still need to keep my eye out for an amp at a good price, then I plan a custom box and 10" subs in the trunk.  Mounted tight to the back seat so I can retain trunk space for all the stuff I carry.

All in all, a successful project!


Thursday, May 23, 2013

Its Mounted!


My home made mount turned out great!
Mounted in the factory location too.

Now I can focus on the kick panels. I got after market replacements that have an opening for 6.5 speakers.
There will be 6x9's out back.  Plus a couple 10" subs in the back.

The subs will come later, I don't have an amp yet.  I plan to make a custom box so it fits up behind the rear of the seat, and I still have a full trunk to carry a spare, tools, cleaning supplies, folding chairs etc.

Now some of you don't know what this actually is. I will recap.

I bought this 8 Track player as a non working unit.  It was cheap and perfect for what I wanted.  First thing... remove the guts! 


I made a flat piece of aluminum for the front.


Sand blasted the unit


Then a coat of semi gloss black for the front...


 And the body.


Cut a hole.  Inserted and secured the mount that came with the new head unit.


Added hinges.


Here is is assembled.


And here it is revealing its surprise!  Its a Pioneer head unit.  CD/MP3/USB/iPOD

Wednesday, May 22, 2013

8 Track player bracket

Took a few minutes this morning and finished welding the front on to the bracket  Some grinding and sanding and black paint and voila!


Just need to measure the holes now, and its ready to bolt in!

Tuesday, May 21, 2013

Started to make an 8 track bracket.

Been looking for an 8 track bracket for some time now with no results. 

Picked up a piece if 1 1/4" wide steel at loses today for $6.  

After some measuring I started cutting and with an idea of what a factory bracket looked like I welded the pieces together.  Drilled four screw holes and it fits real nice. I'll weld the front on tomorrow. 

With smoothing and a coat of semi gloss black I think it will look great. I held it in place and it looks good with room for wires behind it. It's also low enough to clear the heater ducts. 

One step closer!


Thursday, May 16, 2013

So I pulled the axles for new bearings.  I was able to reproduce the noise for a garage, they pulled a wheel and said it was the bearings.  $400 for the job.  I declined, tipped the guy $20 when he said there was no charge and left. 


I ordered the bearings and seals on Amazon.
The seal that worked was Timken 712146 Seal
And the bearing was A9


I sand blasted the axles and sent them off to a shop to have the bearings cut off and new ones pressed on.


While the axles were out I cleaned and painted the backing plates. Installed new brake shoes, spring kit and wheel cylinder.  Some springs did not fit and I realized I the kit was incorrect. I got the right kit but didn't take a picture of it completed.

After


Before


The seal in my hand is what the correct seal should look like.  The other seal causes the axle to be loose and have too much in/out play.

The bearings and seals were about $45 shipped. Pressing was about $30/ side.  Total investment was about$125 including spring kit and shoes.  (I had wheel cylinders sitting on my shelf)

Back on the ground....And I still have the noise I was trying to fix!!!  So aggravating.

I even switched the brake drums from side to side, filed the sharp edges of the brake shoes and rotated the tires front to back... the noise is still there.

Glad I didn't pay $400 for bearings!

Friday, March 15, 2013

Boogity Boogity Boogity!

My buddy Ray ask if I wanted to go to the track, and I said 'Hell yeah!'


This was my first time at the Orlando Speedway.  Had never even been a spectator there before.
Ray is a seasoned Racer with his Buick WE4 (Just like a Grand National). I would have been lost without his presence.  Its intimating know knowing the do's and don't's of the track.  But its not as difficult as I thought. All racers were eager to help.


 Ray sat in with me for the first couple runs. We noticed the car fell flat around 4000 RPM.  I remembered the Rev Limiter was set to 4000 RPM. I borrowed some tools from another racer and bumped it up to 6k.

Here's a shot of the proof I was doing burn outs!
 The car looked good under the lights. I had lots of complements.
 People even asking to take pictures of the car.  The announcer in the tower even made comments that it was a beautiful car.
 This is a shot in the burn out box just before a race.


And finally, here's a video of my best run.  15.05 at 91.89 MPH


So whats next?
The guys on V8Buick.com seem to think that timing and practice will easily put me in the 14's.
Plus I have some goodies to throw on the car, like a set of Stage 1 heads and headers.  And a Magnaflow 2.5" stainless cross over system.  

Monday, March 4, 2013

Alternator and Lower Alternator Bracket

One of my Buick buddies noted my alternator was 'clocked' wrong and the electrical connections would interfere with the installation of the AC compressor.  Easy fix. Just remove the 4 bolts holding the half's together and pull apart just enough to twist.  I moved mine 90°

Here's the old lower AC bracket. Its of the 71-72 vintage.  70 brackets were aluminum
And here's the 70 bracket in place.  Bolted in exactly like the previous bracket except I had to find a longer bolt for the bottom.  The steel bracket is only the thickness of the steel.  The aluminum bracket was almost 1 1/2" think at that part.  I t was no problem though, I went though my 'back of tricks' which is full of bolts from a 75 Lesaber I scrapped and found a perfect bolt.

Here it is all back together.  Ive been sizing up the mounting for the compressor, and it should be all good. 

Tuesday, February 26, 2013

Grill Emblem


To top off the new grill, a new re-pro GS grill emblem was installed.  I have to say The Parts Place grill and emblem fit really nice and look great.


I picked up some thread cutter nuts at Autozone. It was an assortment pack but it had 2 nuts small enough work on the GS emblem.  Looks so good.


Friday, February 22, 2013

New Grill Installed

 The new grill is in.  With the help of the Dr. we dropped the front bumper and lower spoiler.  This was necessary as I did not want to force the new grill in like the old grill came out.


We had to align the bumper but now it looks better than ever. Moved it up and left compared to where it was.  A new grill emblem is on its way and that will be the icing on the cake.


It looks as good as an original piece, fit perfectly. New studs were included with it, which is a good thing because there was quite an assortment of hardware holding on the old grill.

While the front spoiler was off, I gave it a quick spray of semi gloss black.  Looked like it had never been painted, just black primer on fiberglass.  Looks great now.

Tuesday, February 19, 2013

She's getting a new smile!!

A new grill was in order.  I had planned to repair the original, but there was a surprise at Christmas...a repro grill. Its a nice piece.

The old grill came out easily, and was held in with junk studs.


Using a Dremel and a polishing tip, I made the stainless shine!


I picked up some new stainless screws for the stainless trim and it looks great.
The bumper needs to be dropped to get the new grill in, that will be tomorrow night.


Monday, February 11, 2013

Shifter Linkage


Installed the new re-plated shifter linkage yesterday.
There's a white bushing (which was missing making my shifter really sloppy)


So when I put it together, the bushing kept popping out of the bracket.
Called my 'Buick expert' and he says the spring keeps the bushing in... to which I reply..what spring?


I kinda remember seeing pictures of it so I did though my bag of trick.. no springs big enough. 
Then I find a throttle return spring which slips over the rod nicely.  But it 'pulls' instead of 'pushes'...
I give it a good stretch, and snip off whats not needed, compress it, slide it on and it was perfect!
Shifter feels like a new car!


Monday, January 14, 2013

Rear package tray, rear shoulder belts and sail panels


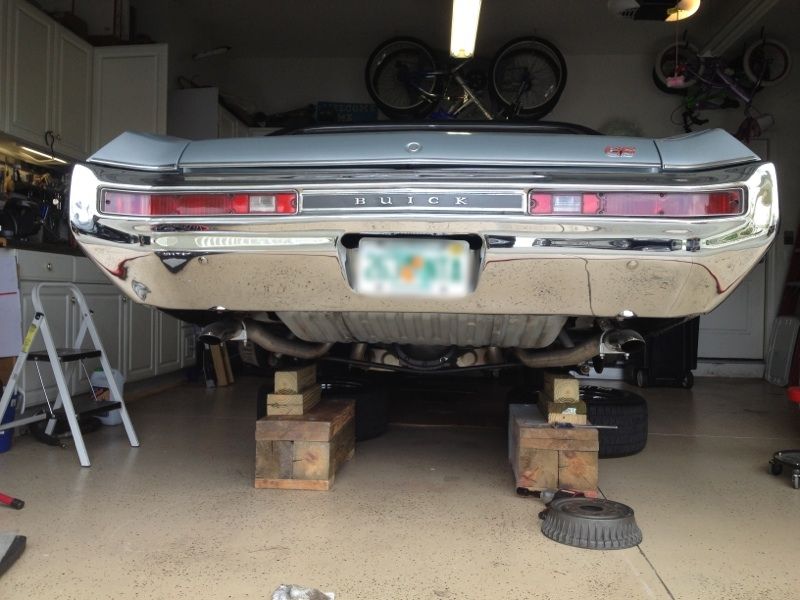
This weekend I put a new rear package tray in my car. The tray in the car had warped (probably from previous humidity) and had speaker grill covers on it, which I did not like.

Photobucket

Photobucket

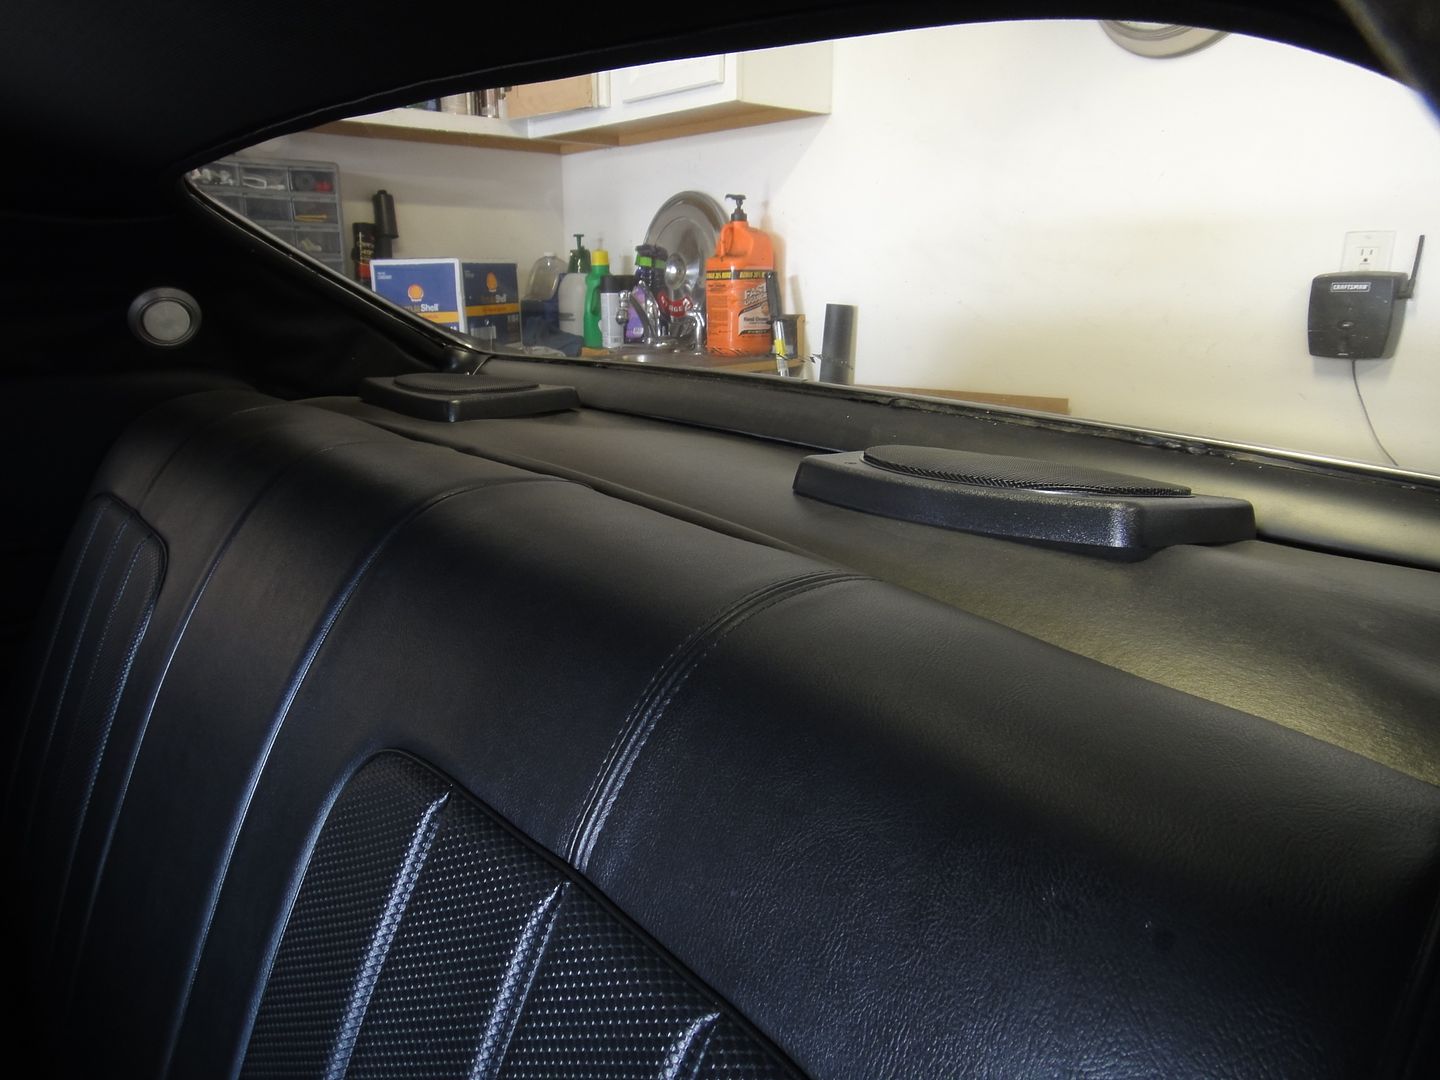
So I ordered the deluxe w/ mesh tray from OPGI along with the new padding to go under it.
In addition I got the trunk divider and padding.
Also, I got a set of brand new rear shoulder belts (which were a factory option) from eBay

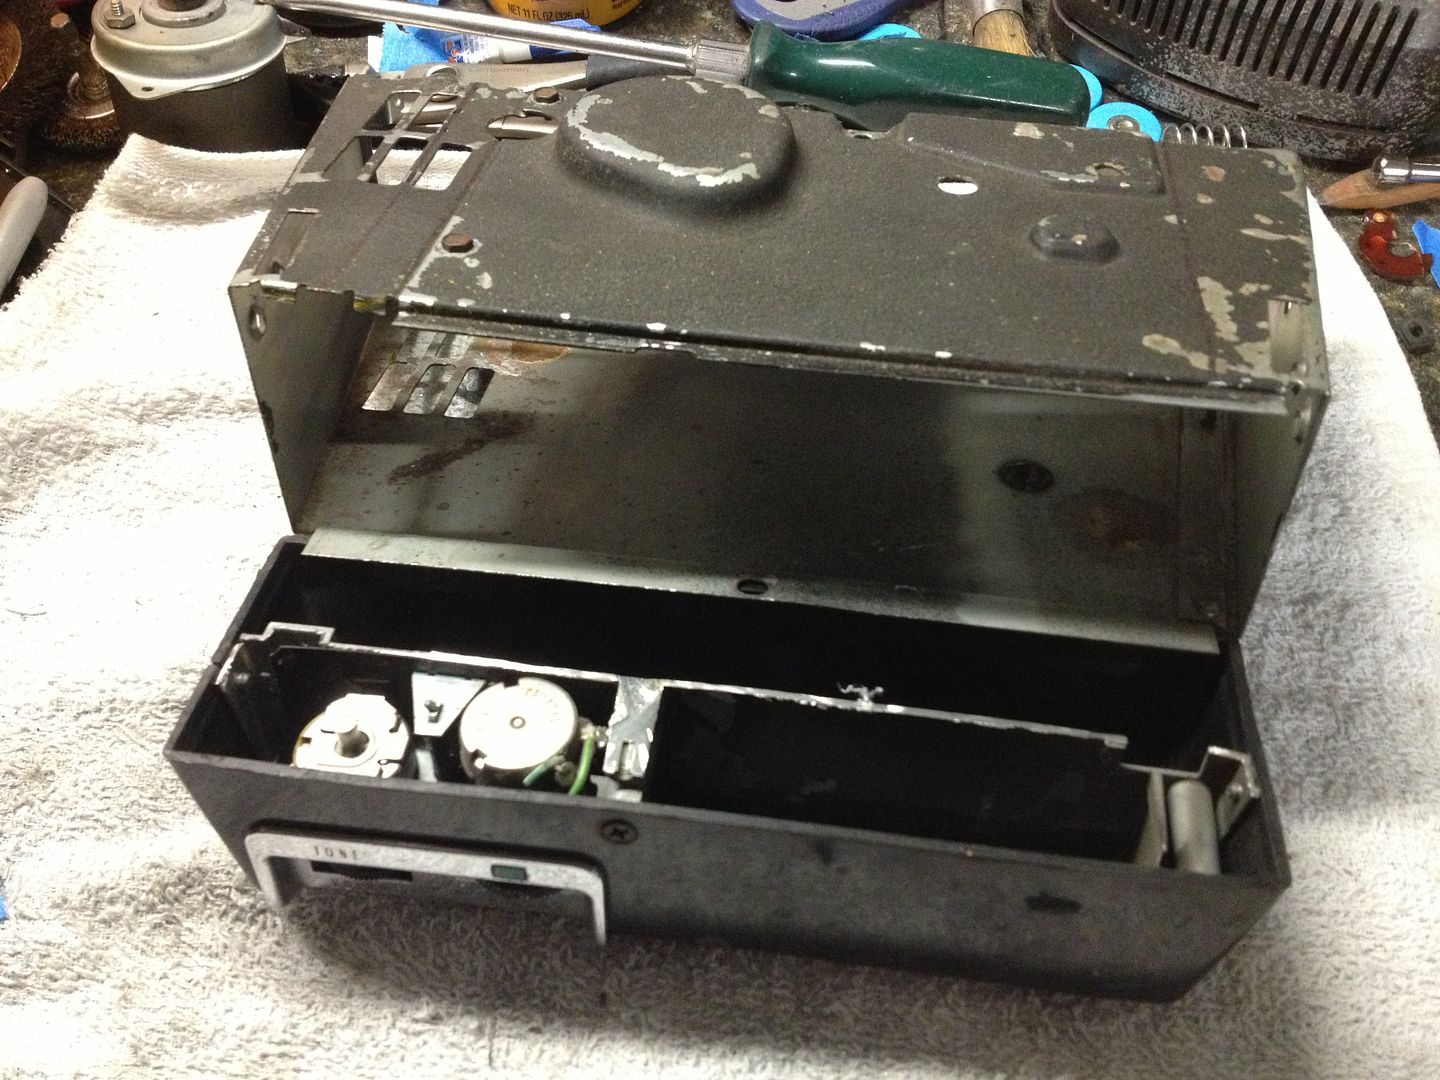
I started by removing the bottom of the rear seat.  For those that don't know, the seat is clipped in.  To remove it push the seat bottom towards the back of the car and lift up, then pull forward.

I then removed the seat back, just lift up, its on 3 hooks across the back.

Next were the window cranks, there's a clip you have to pull out behind the handle, then pull straight out.

Then the side panels, uppers lift off, and lowers have a couple screws in the door jamb area.

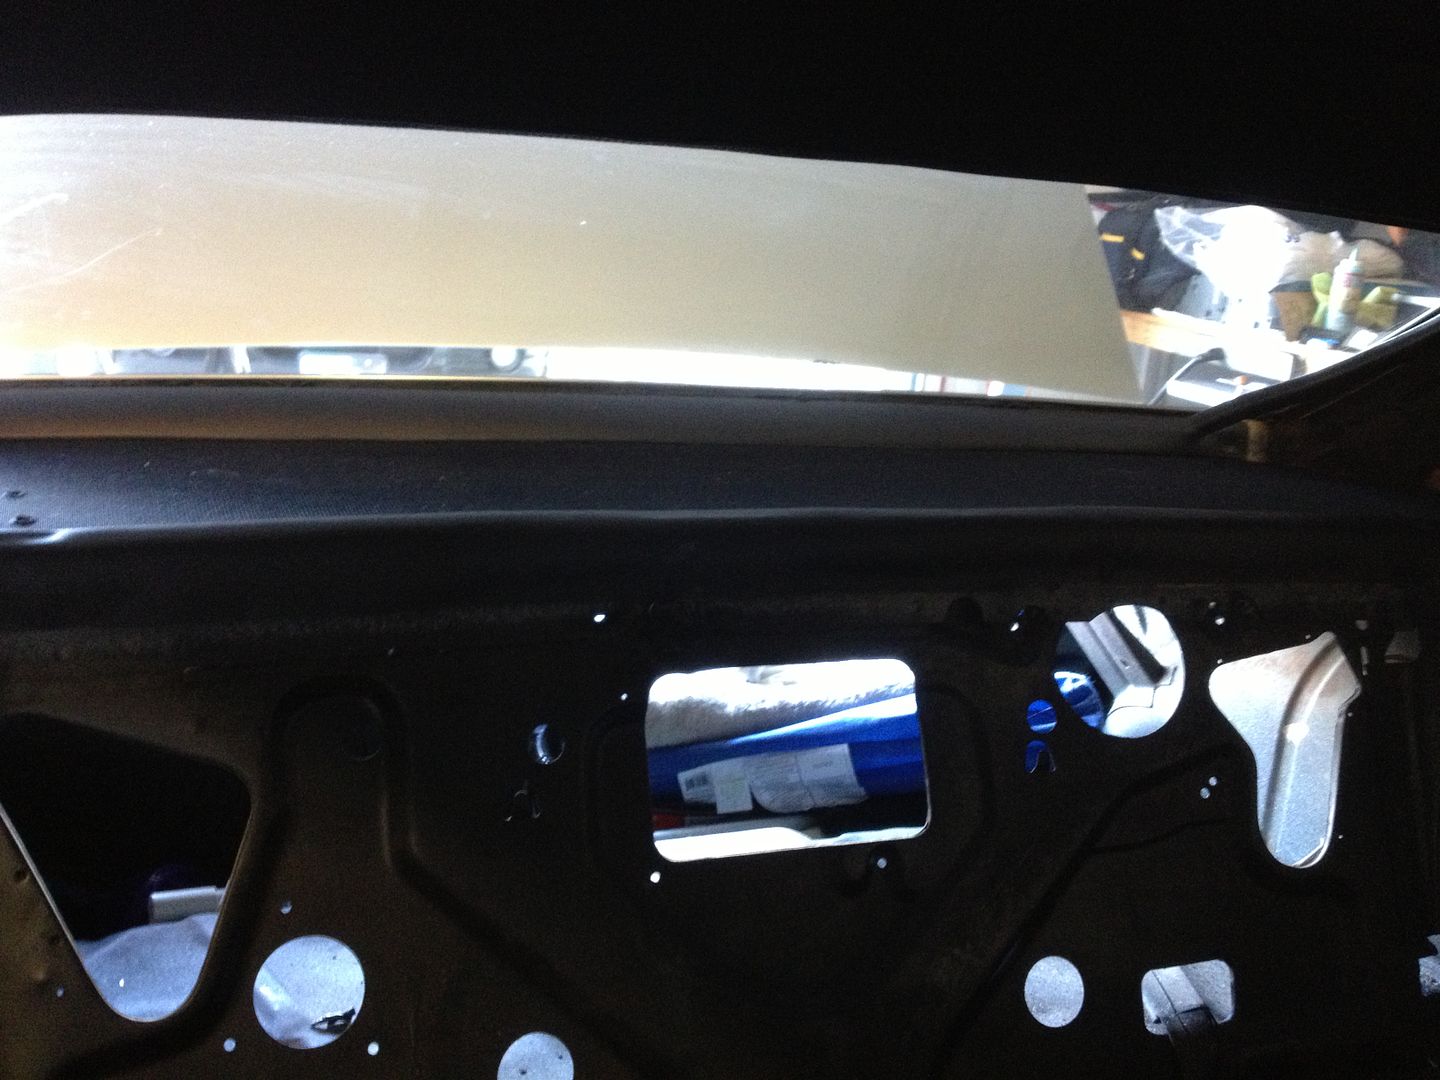
Finally the sail panels - first remove the corner covers at the bottom of the rear window.  Carefully... these are brittle!
remove the welting around the quarter window, and the rear window. This presses on, so just pull it straight off.
remove the light lenses, and then the two screws inside. 
Remove the bulb and the wires, careful as the plastic is brittle!

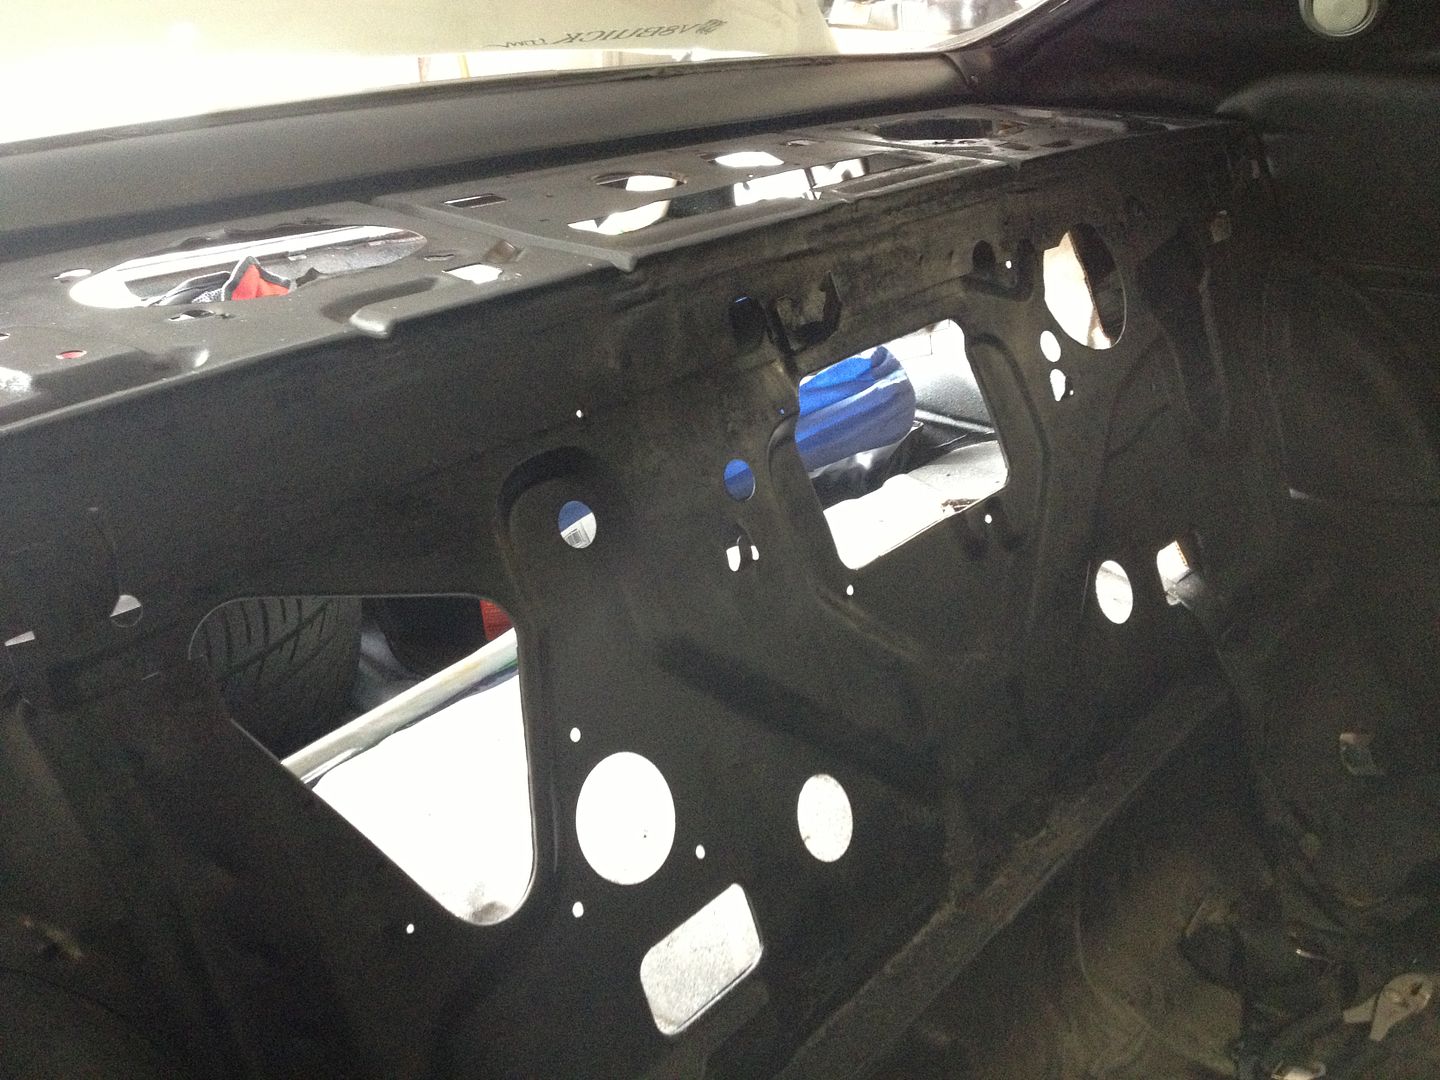
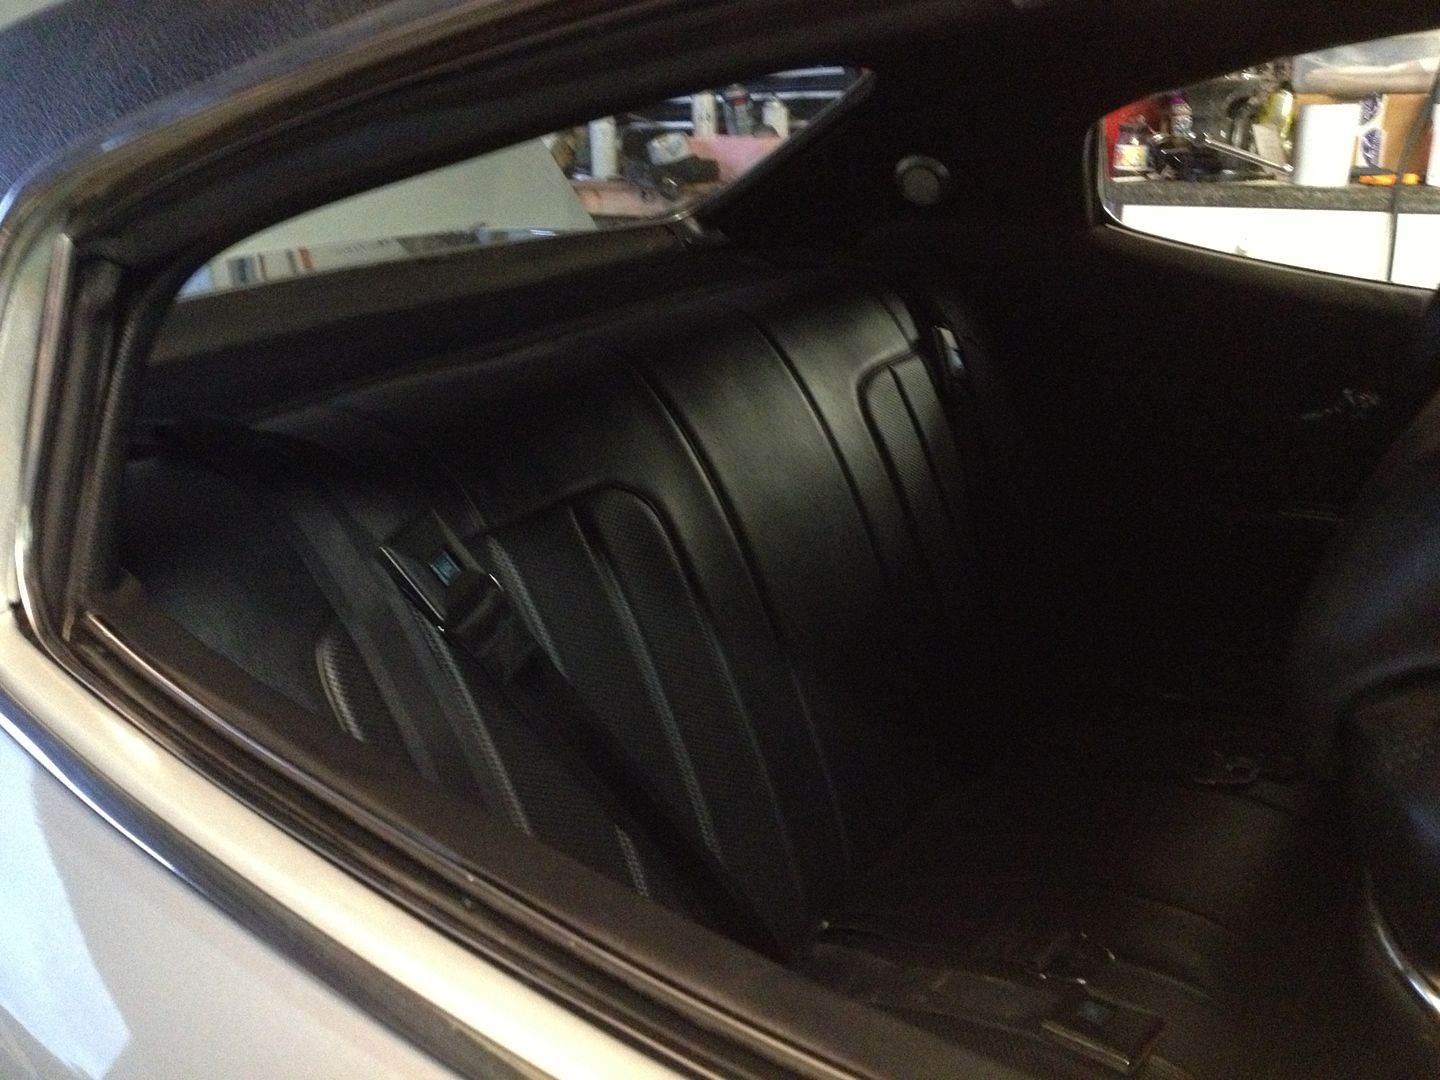
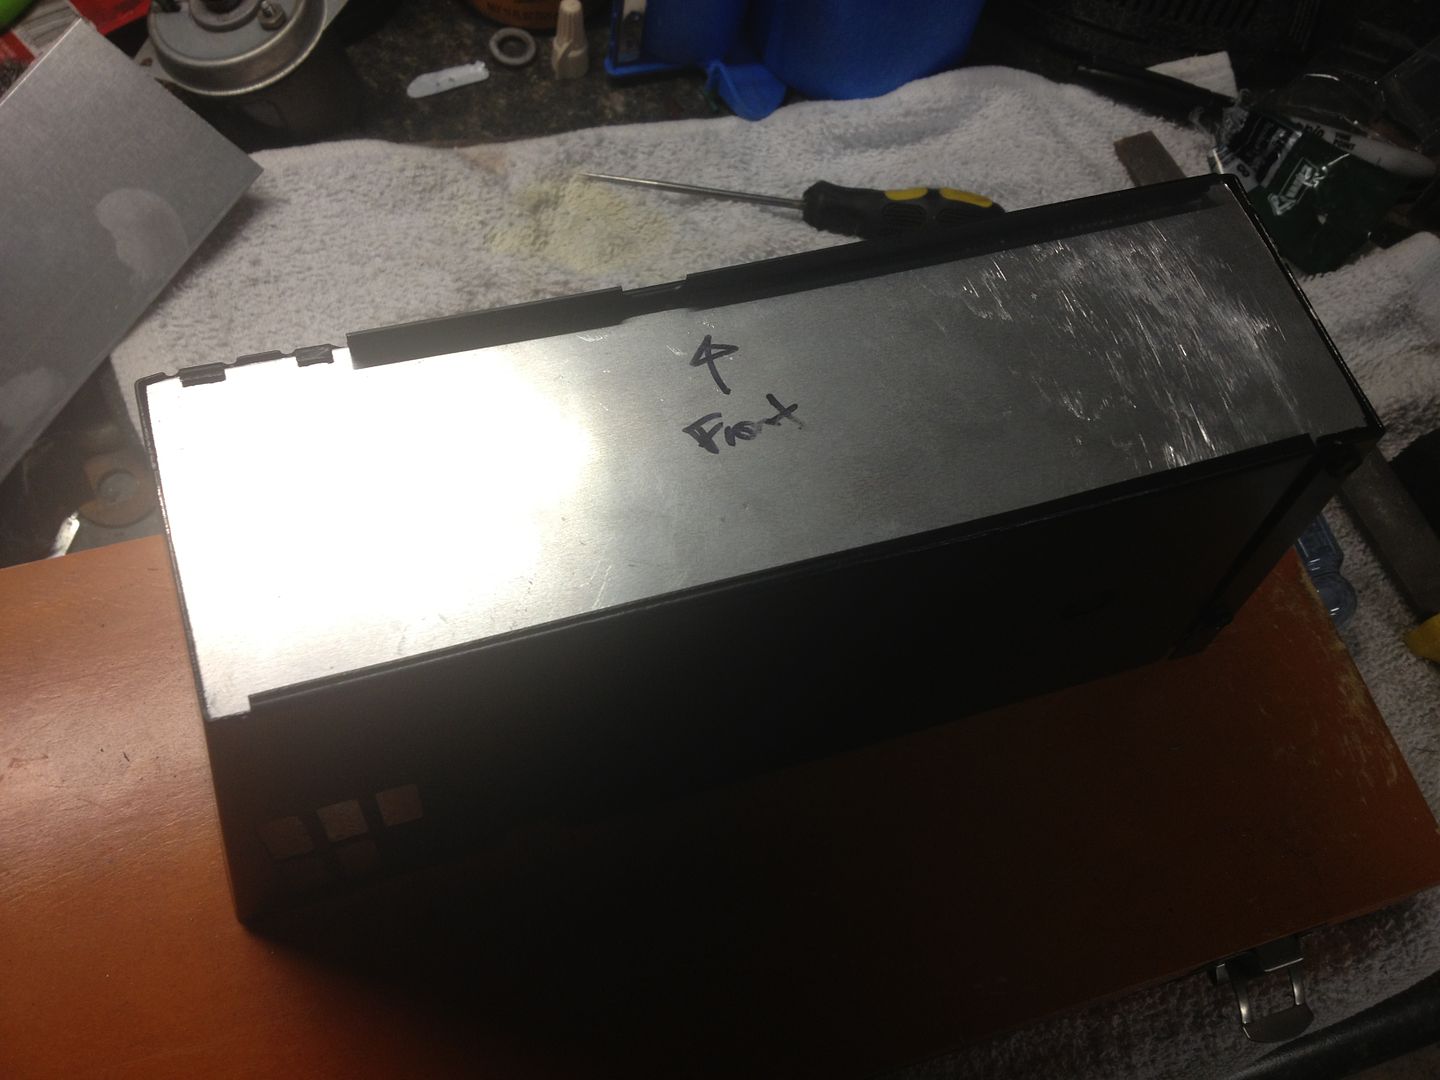
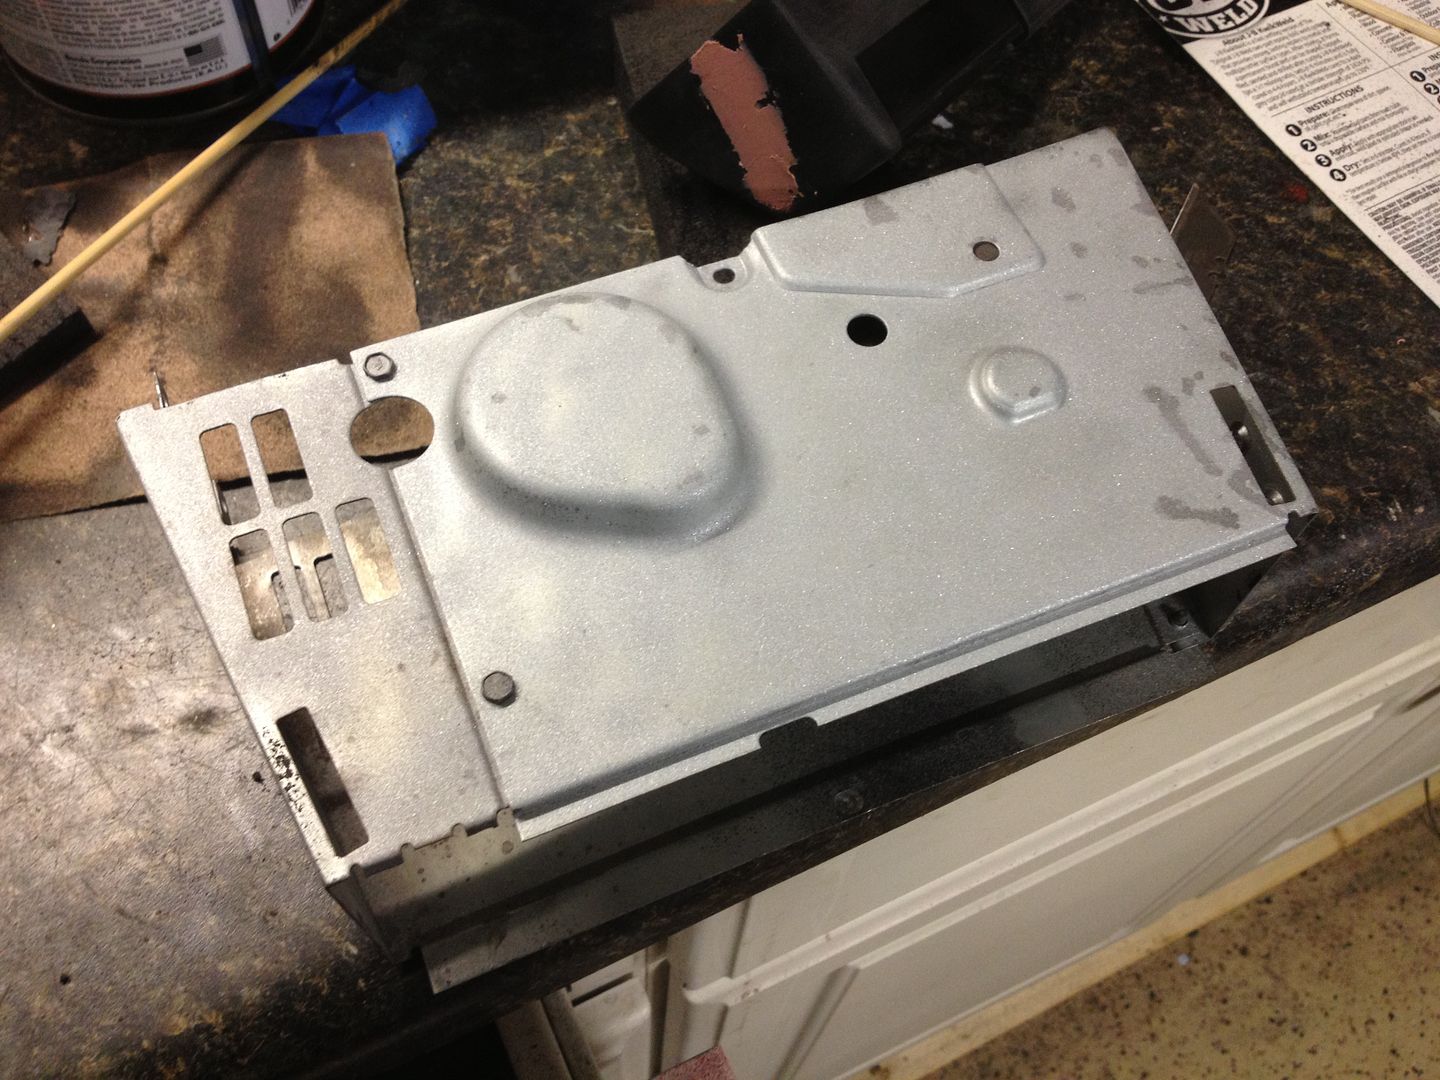
You're now at the point where you should be able to take out the shelf.  The front edge is likely glued to the structure of the car.  remove it and clean it.

While at this point, I carefully taped up the rear window and sprayed some satin black to clean up the area

Photobucket


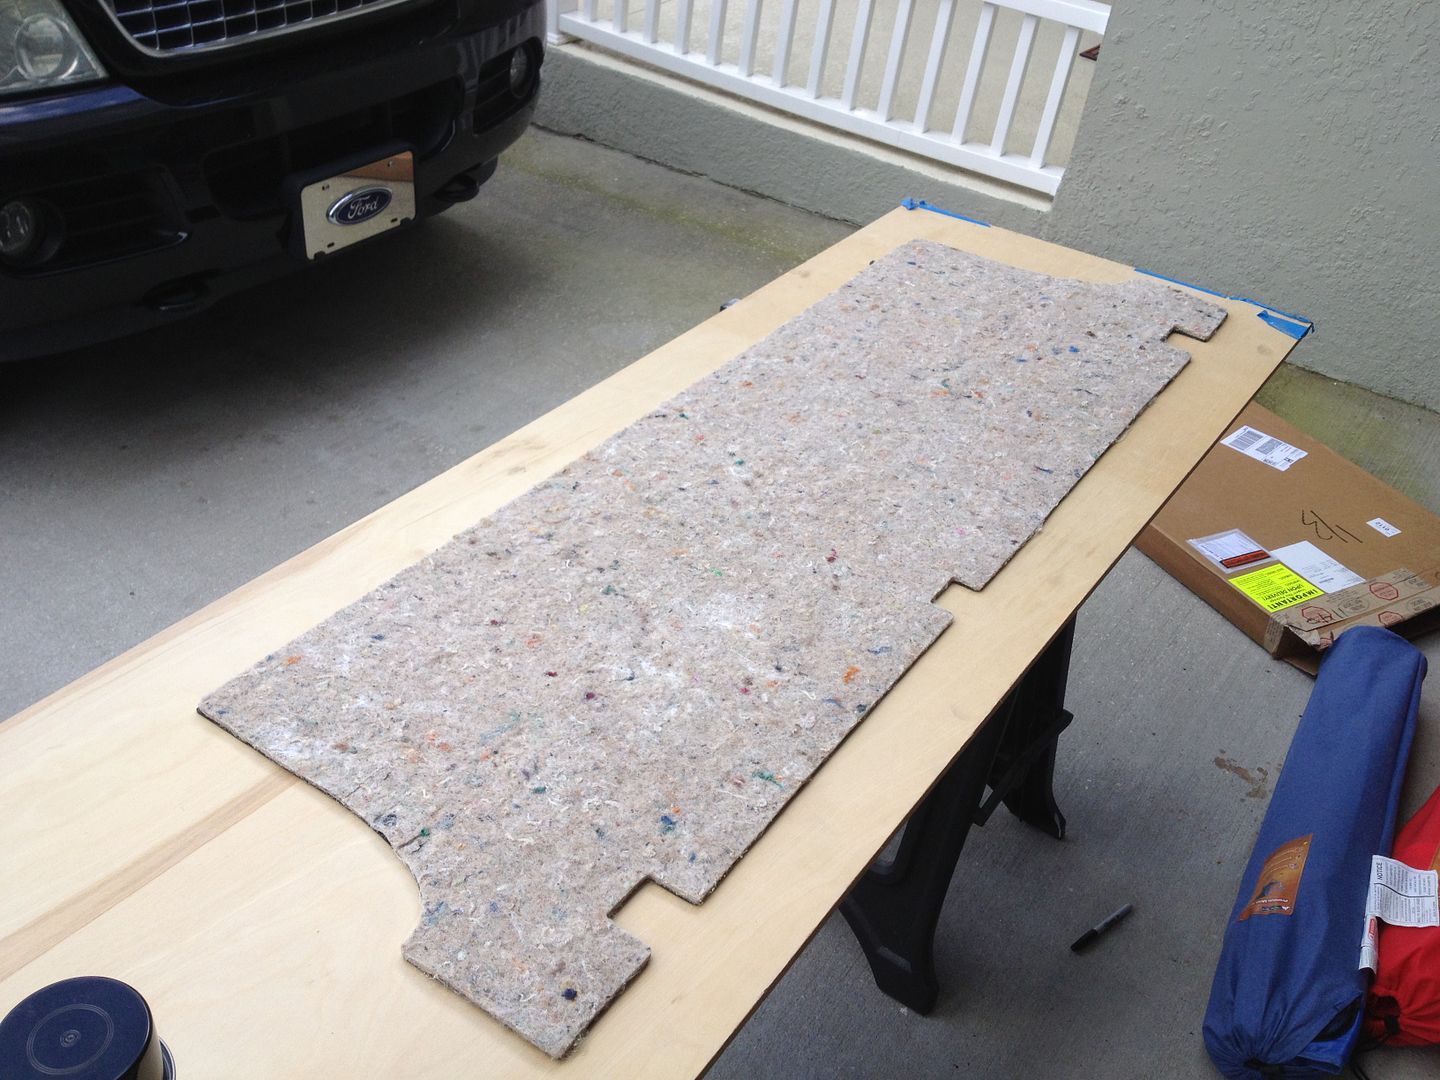
Using the old shelf as a template, see what needs to be trimmed off the new one
I ended up removing 1/2" from each side and 1/4" from the window edge.

Photobucket


Fits good!

Photobucket


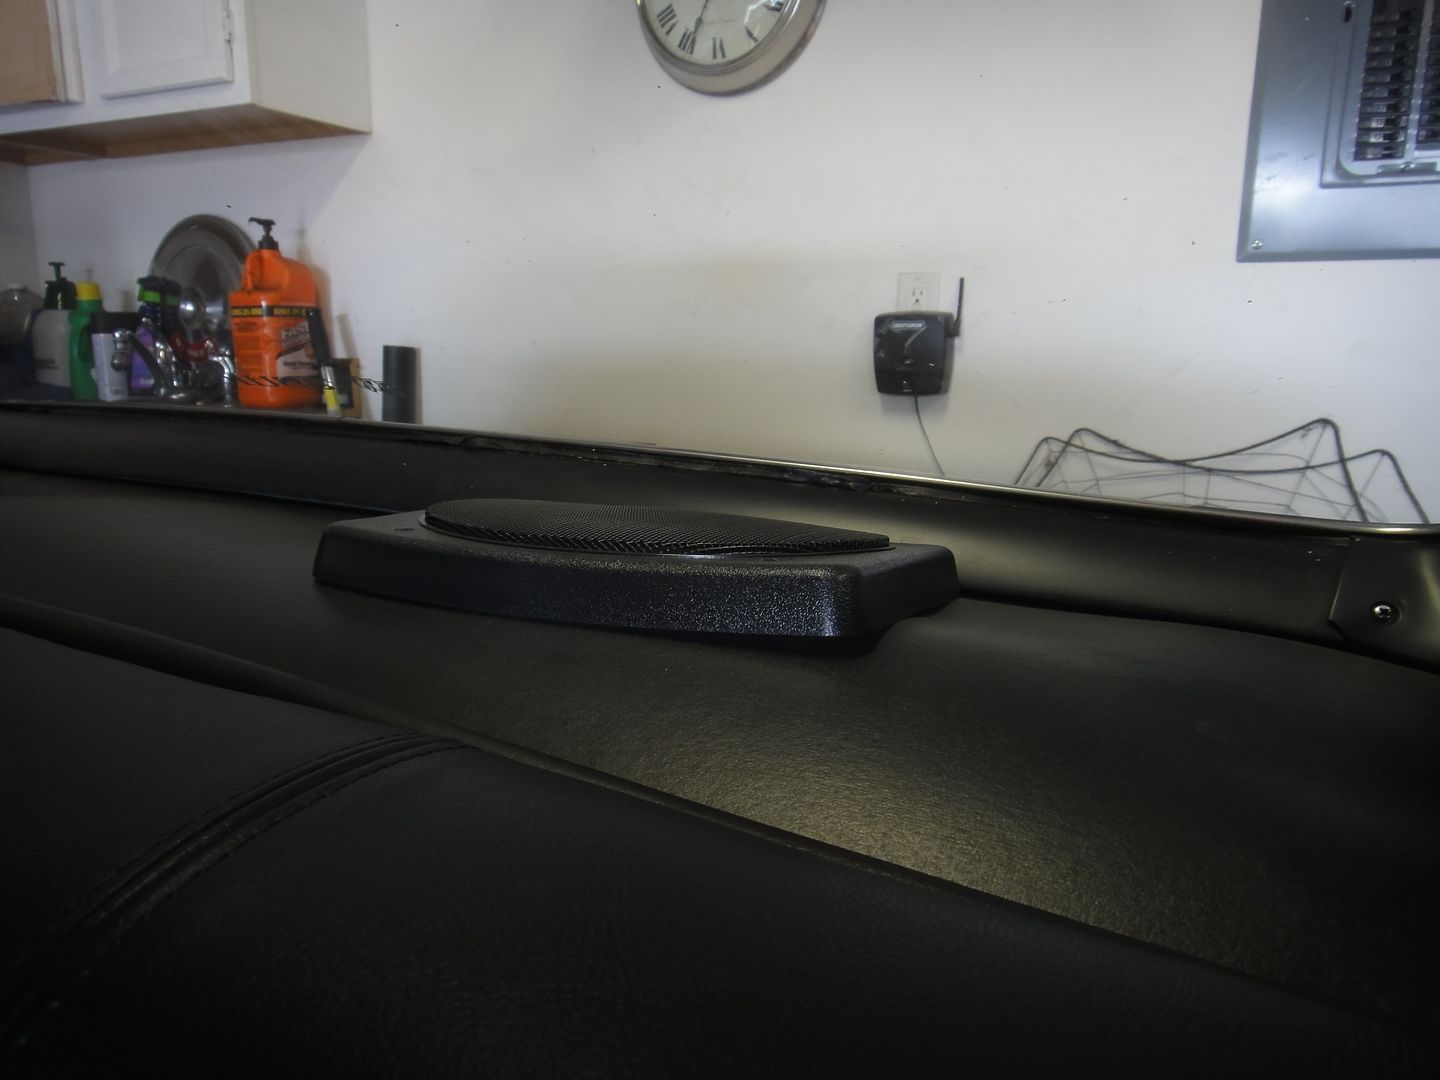
Now's a good time to reach in with a sharpie and mark the 4 bolt holds for the shoulder belts.
I used a 3/16 drill bit to make the holes in the new tray
There's an obvious raised area where the bolts go.
You can see the passenger side holes in the next picture.

I removed it once more, to put the insulation in
I did cut the shape of the raised area for the shoulder belts out of the insulation for a nicer fit.
then re-installed the shelf.


I used 3M Rubber and Vinyl 80 spray glue on both surfaces and glued down the front edge

Photobucket


While I had the glue out, I test fitted the trunk divider and glued the insulation to it

Photobucket


Photobucket


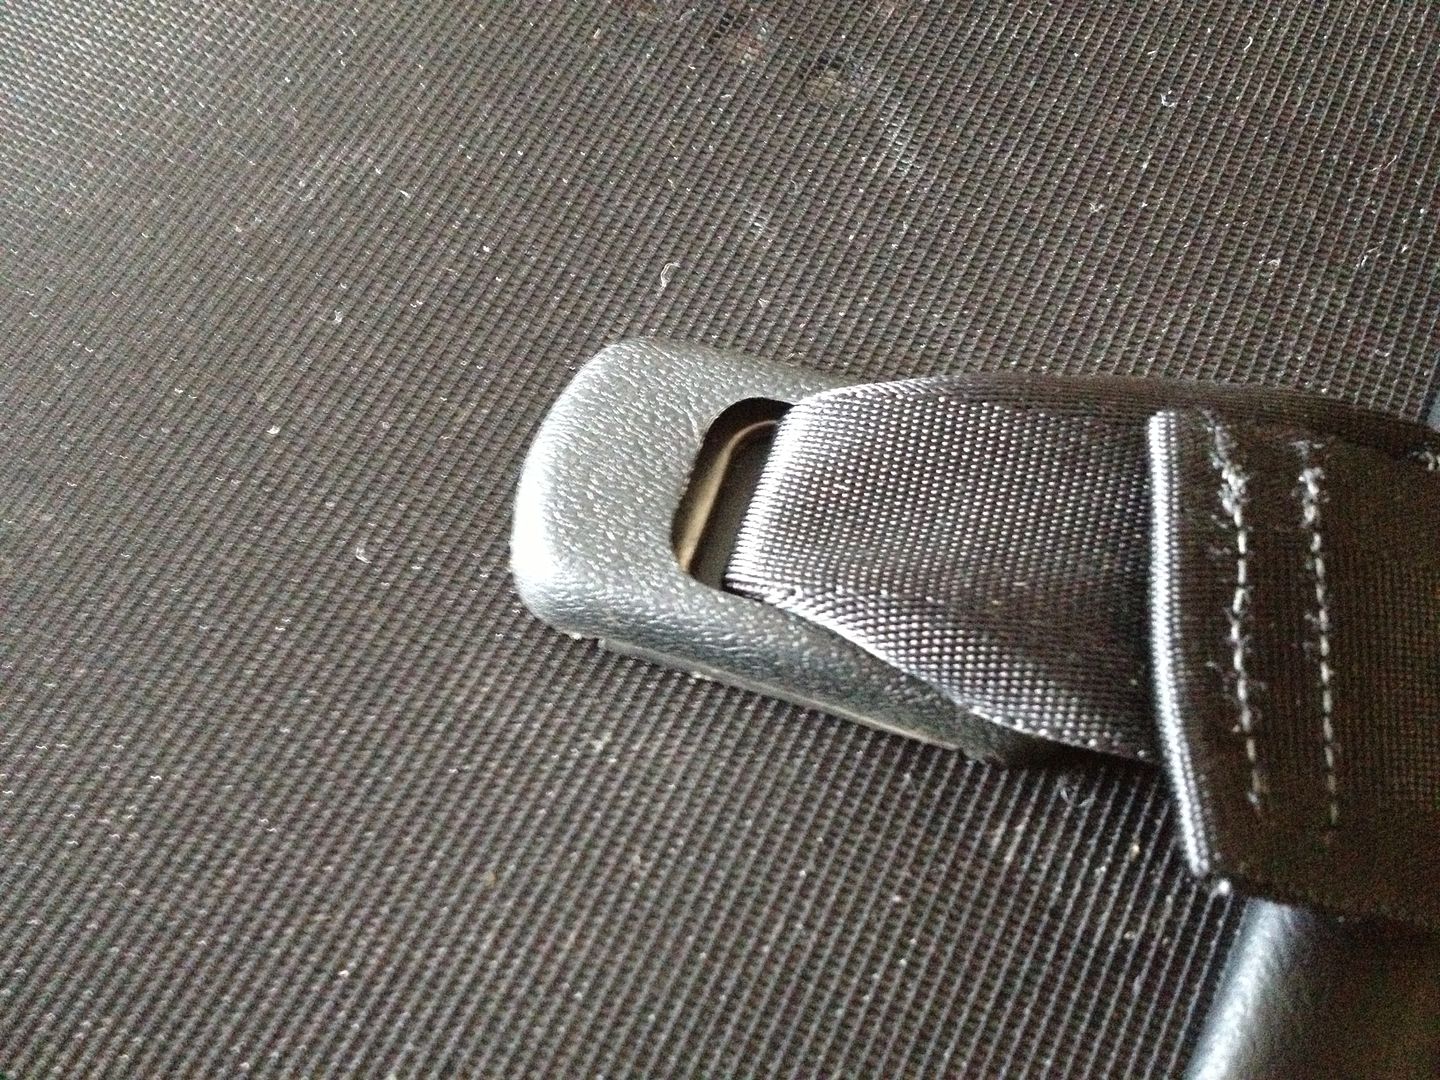
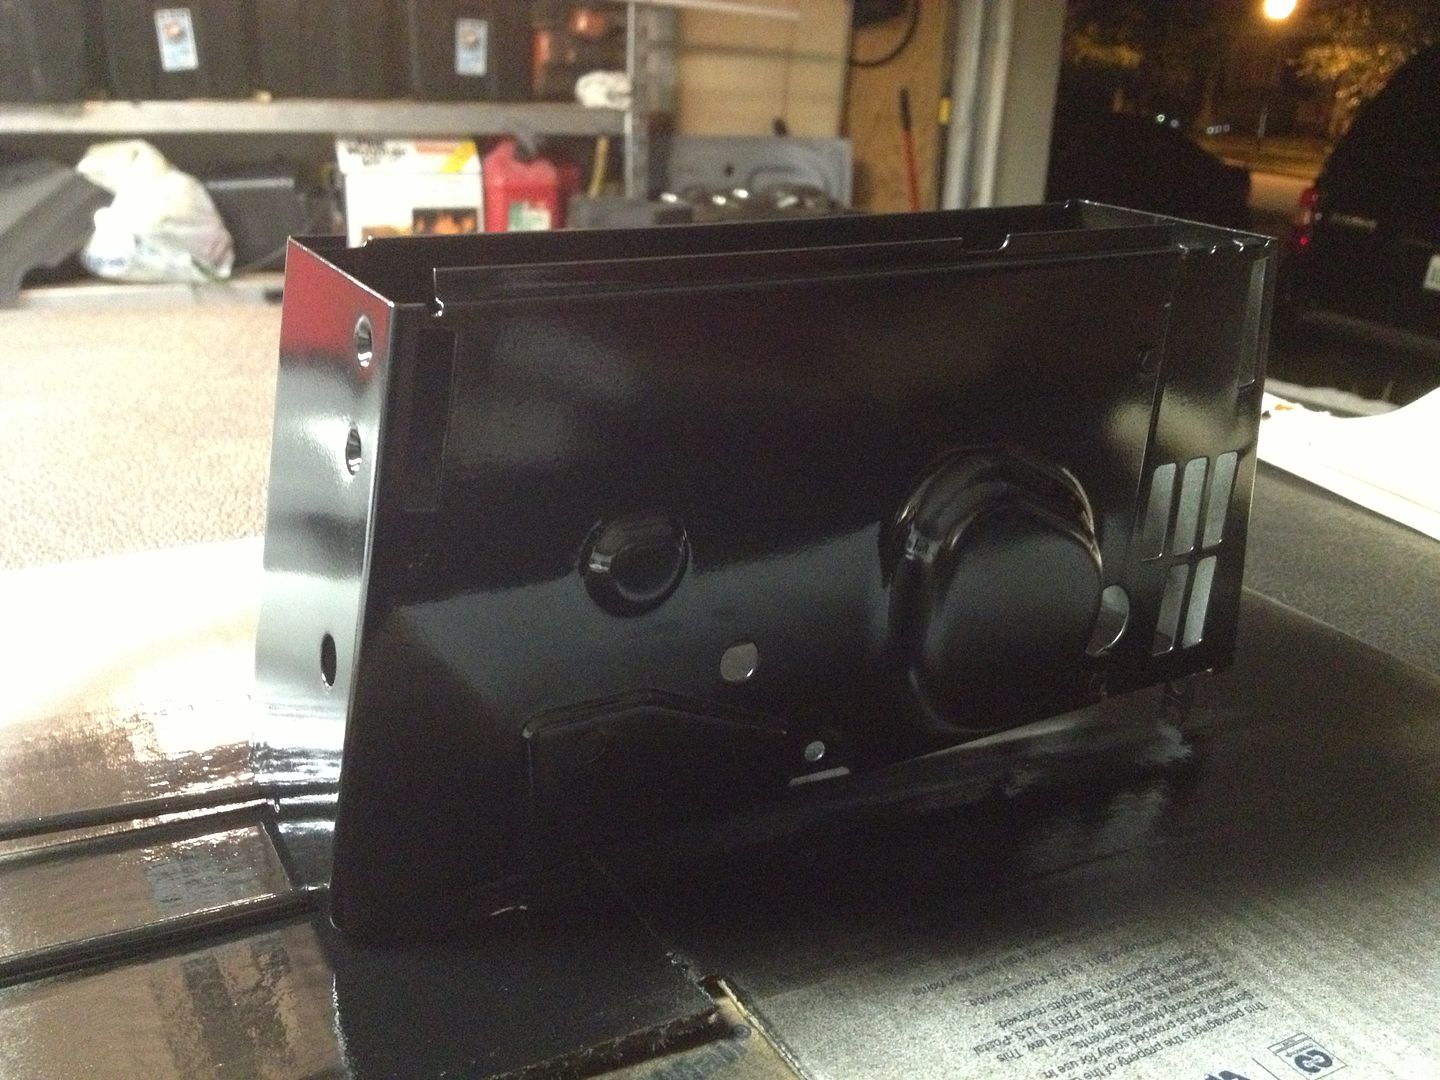
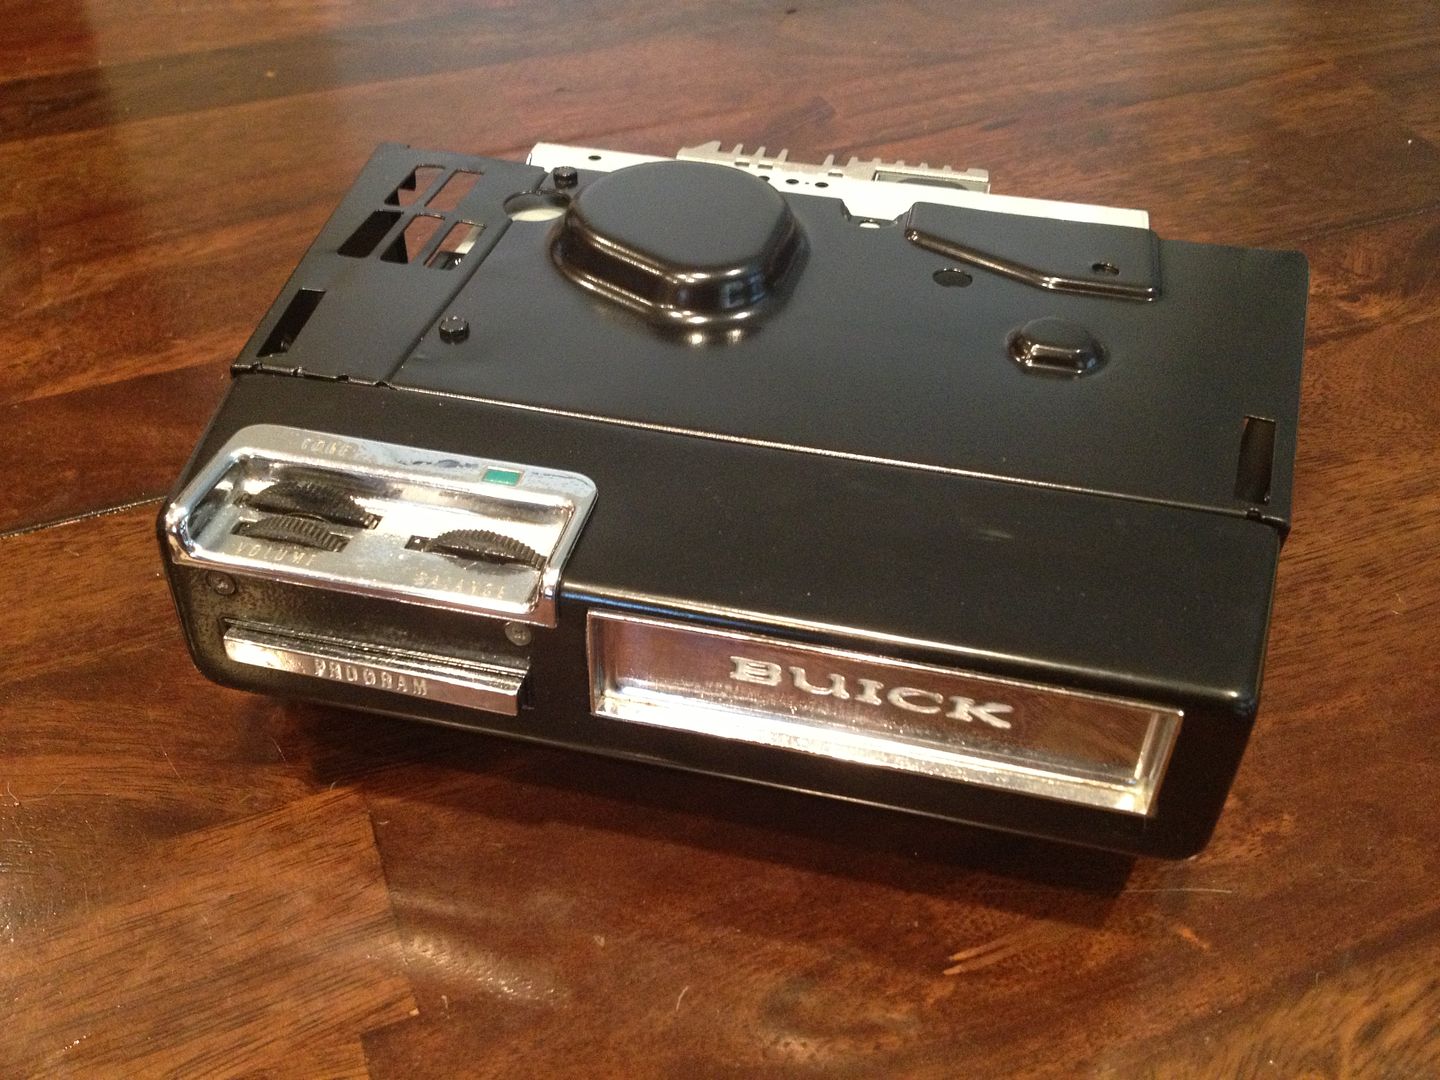
The rear shoulder belts come with everything needed, even the hardware.
There's a plate that goes under the shelf, two bolts that go down though the bracket on top and a plastic cover, just like whats on front shoulder belts.

Once installed, they look nice!
The lower portion of the belts get sandwiched in between the existing lower belts on the middle two bolts in the floor.

Photobucket

Photobucket


Oh... before putting the package tray in, and the trunk divider on, I put some sound deadener on.  Its like dynamat but its a roofing material called Quik Roof. I got it at Home Depot
[url]http://www.homedepot.com/Quick-Roof/h_d1/N-5yc1vZ34v/R-100594339/h_d2/ProductDisplay?catalogId=10053&langId=-1&storeId=10051#.UPQqx_IRDjI[/url]
(Model # QR625 Store SKU # 914563 - $16.45 /EA-Each )

This one roll covered the shelf, behind the seat and the floor. And I still have about 1/4 of it left.
Its a 6" wide roll.  easily cut with scissors, peel and stick too.  It easily confirms to the structure, sticks well, and has no smell.
Here you can see it applied to the floor.
it made a huge difference!  I tapped on the car before and after sticking it down and the sound was noticeably duller, not tinny

Photobucket


At this point, re-assembly begins.
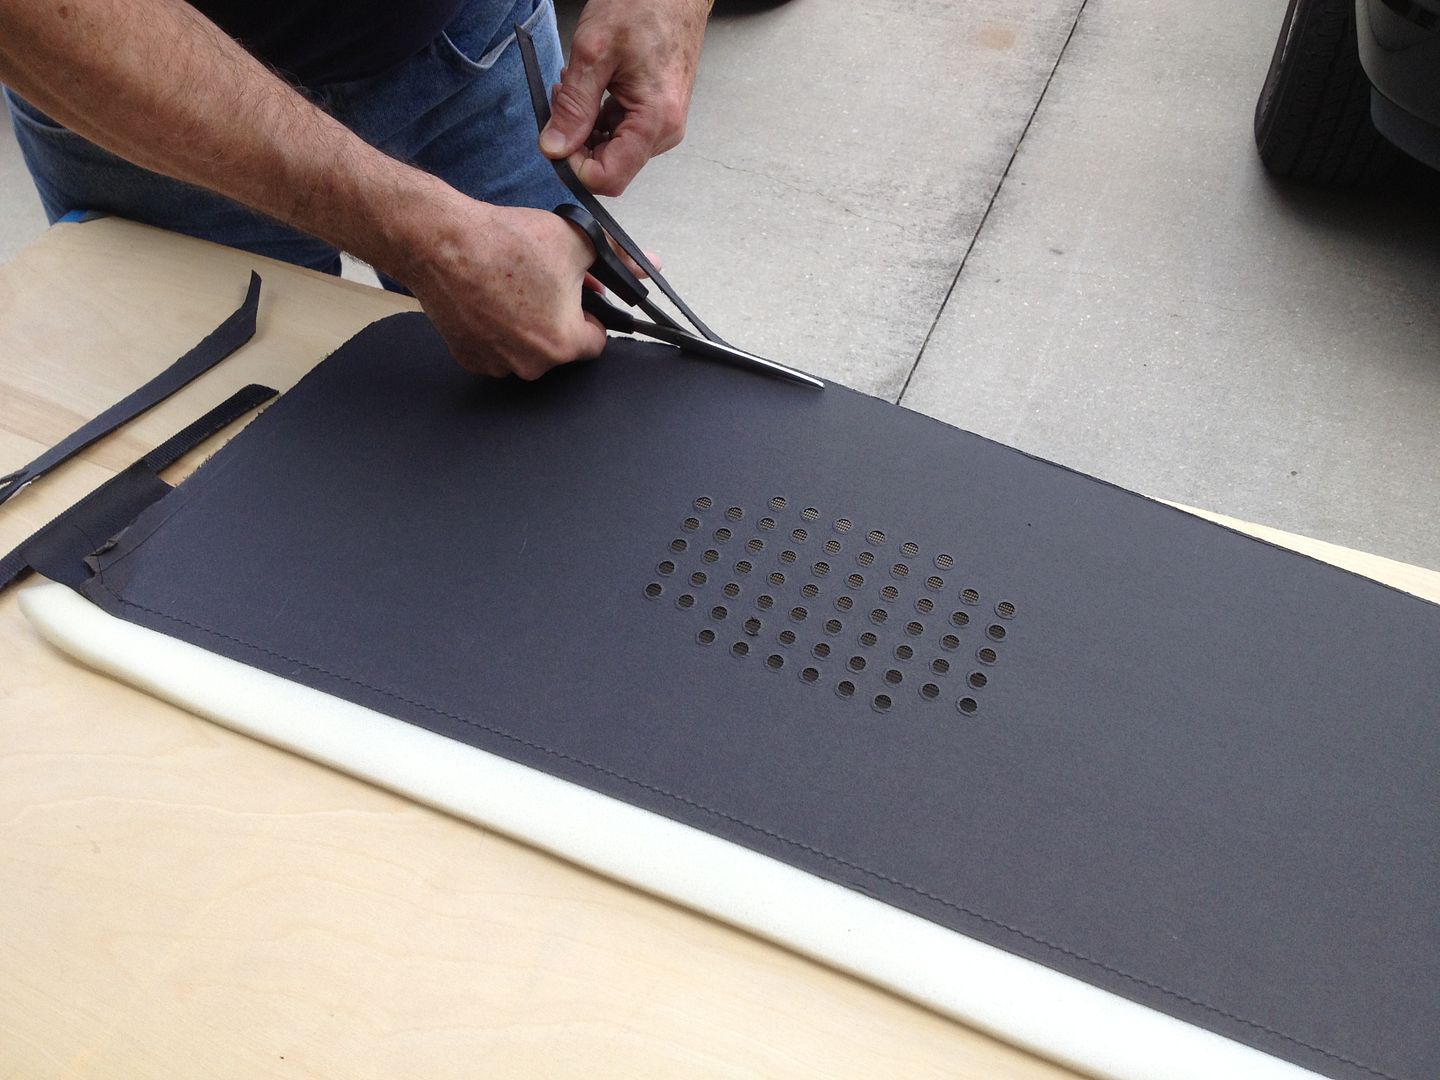
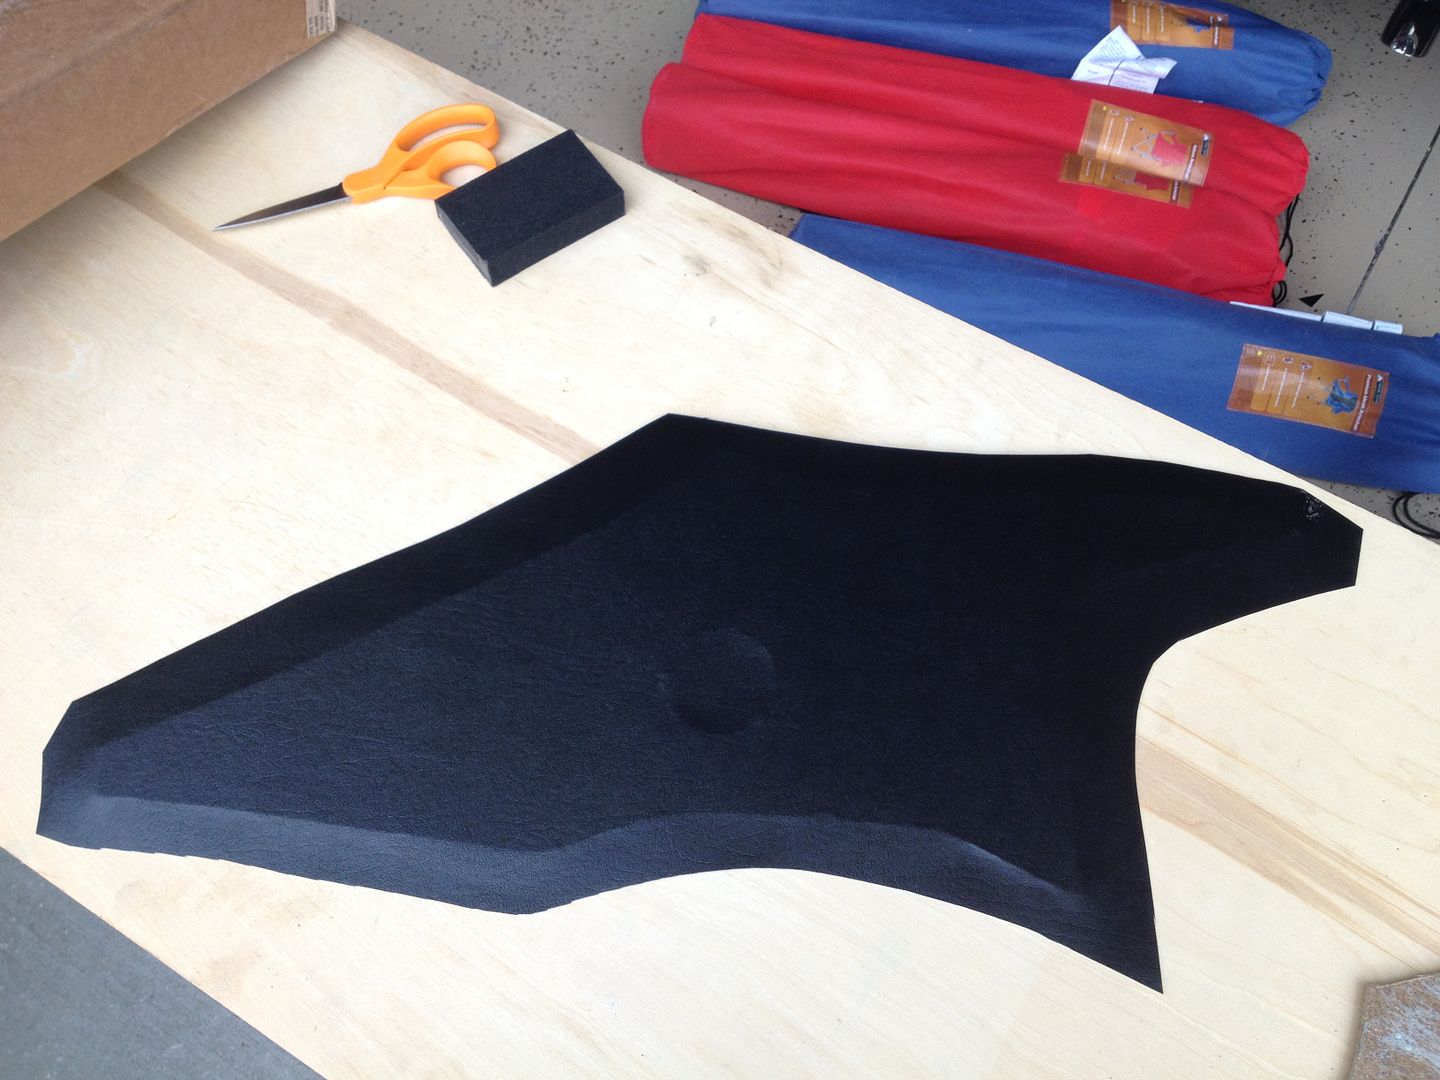
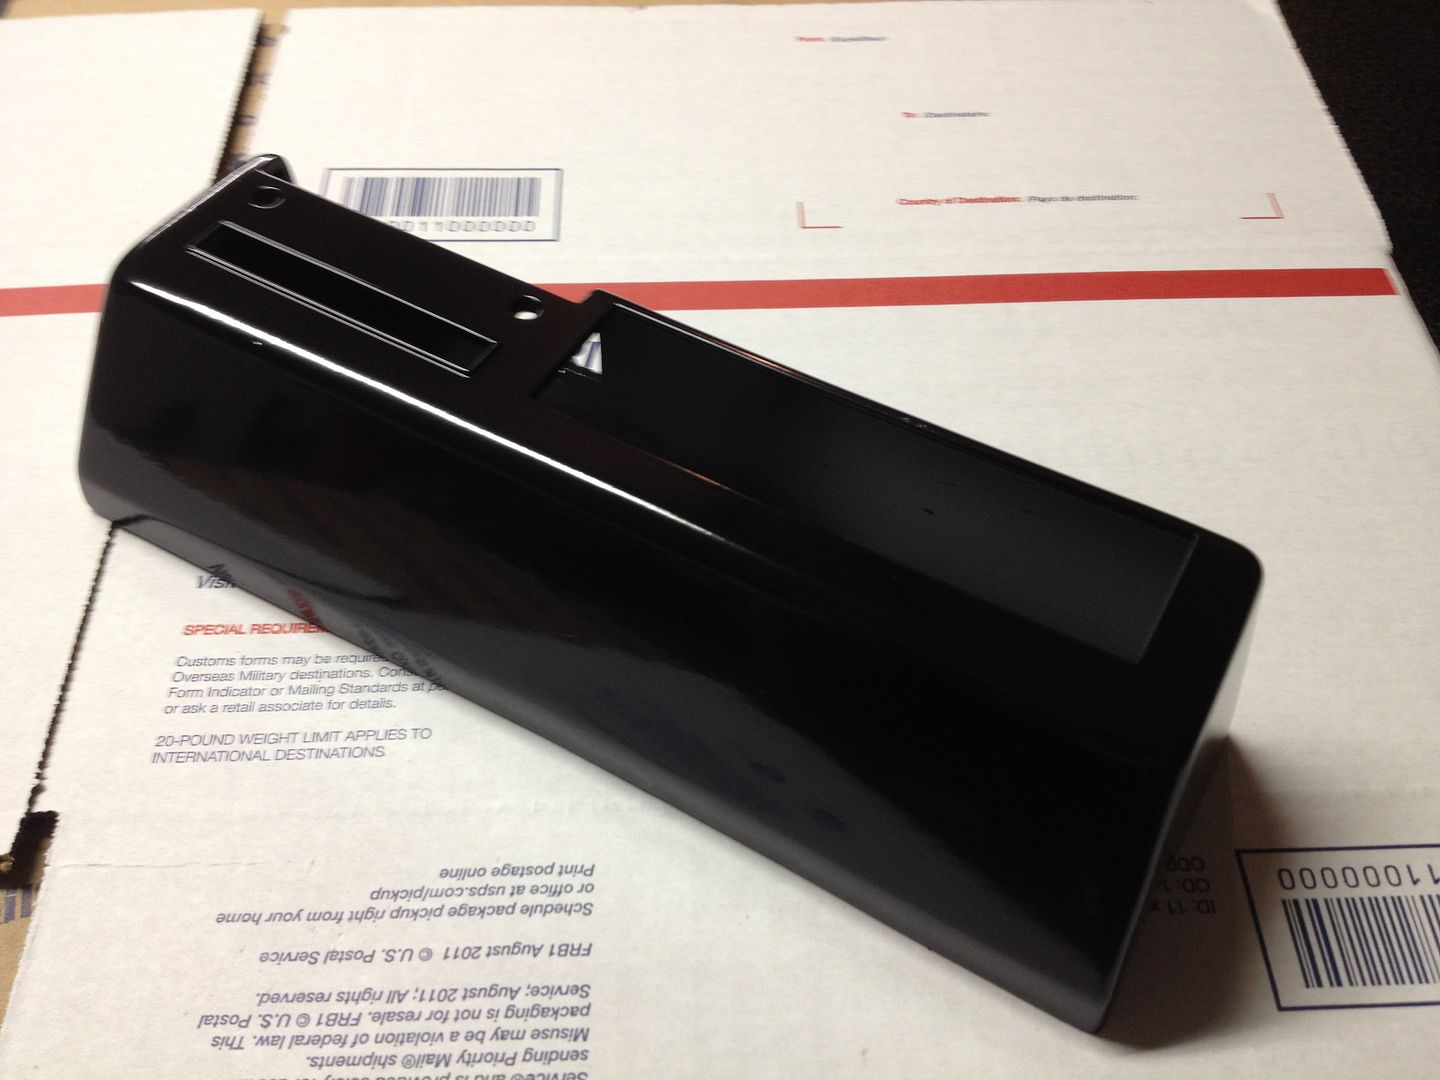
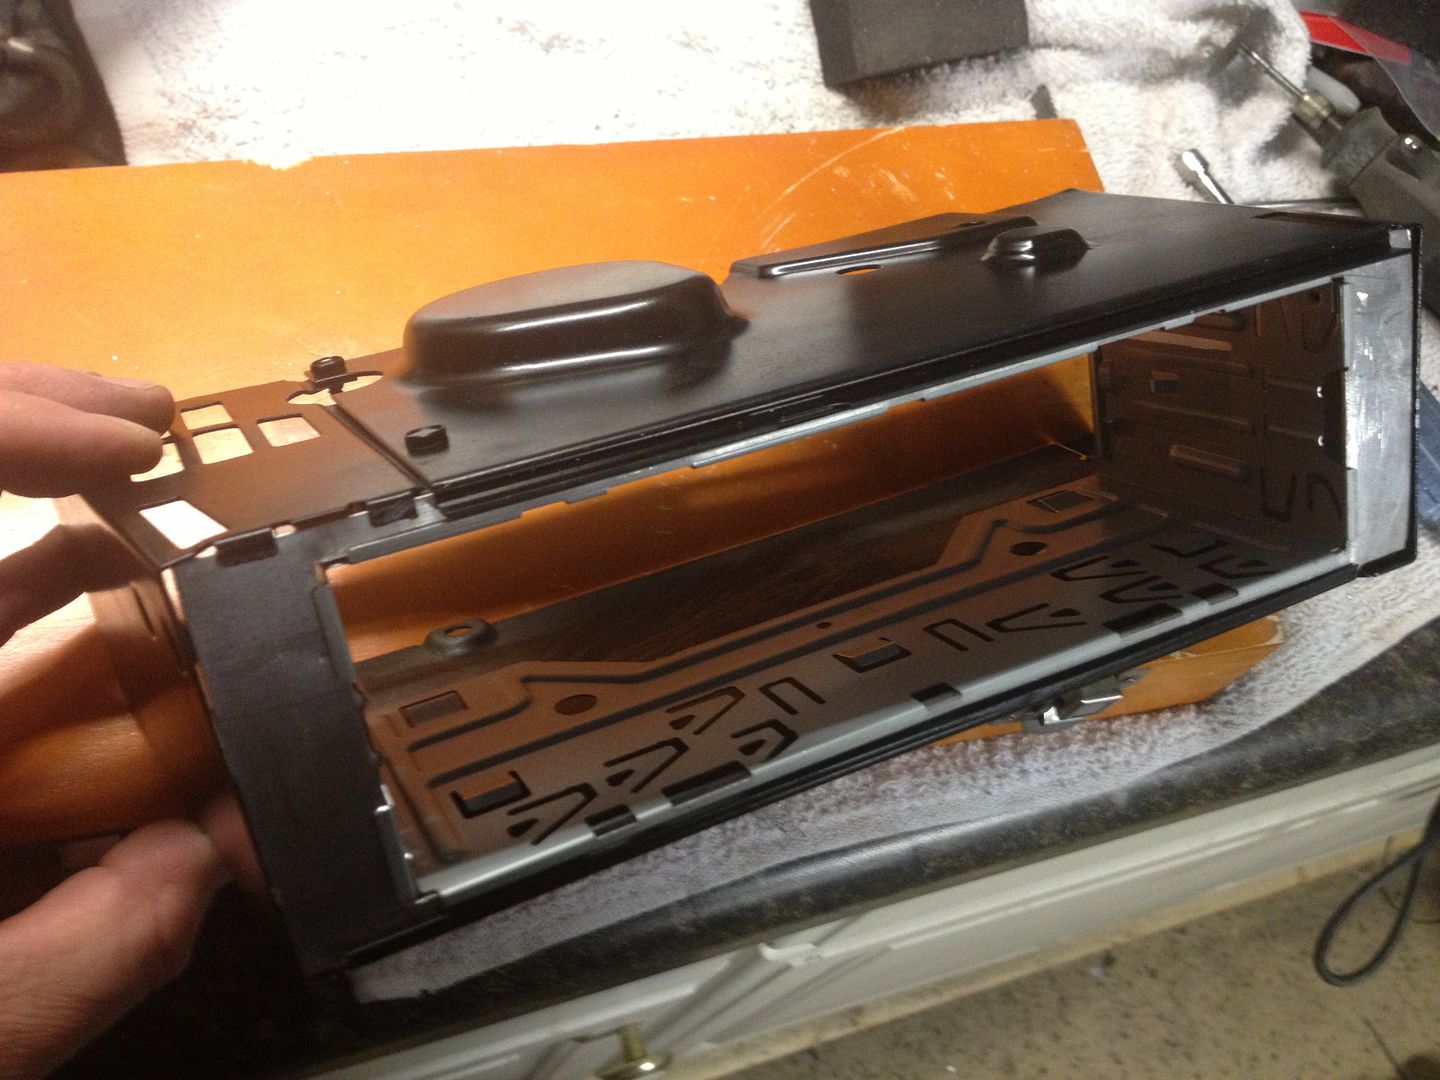
However for me, my sail panels were looking a little tired, they were wrinkly and falling apart.

Photobucket

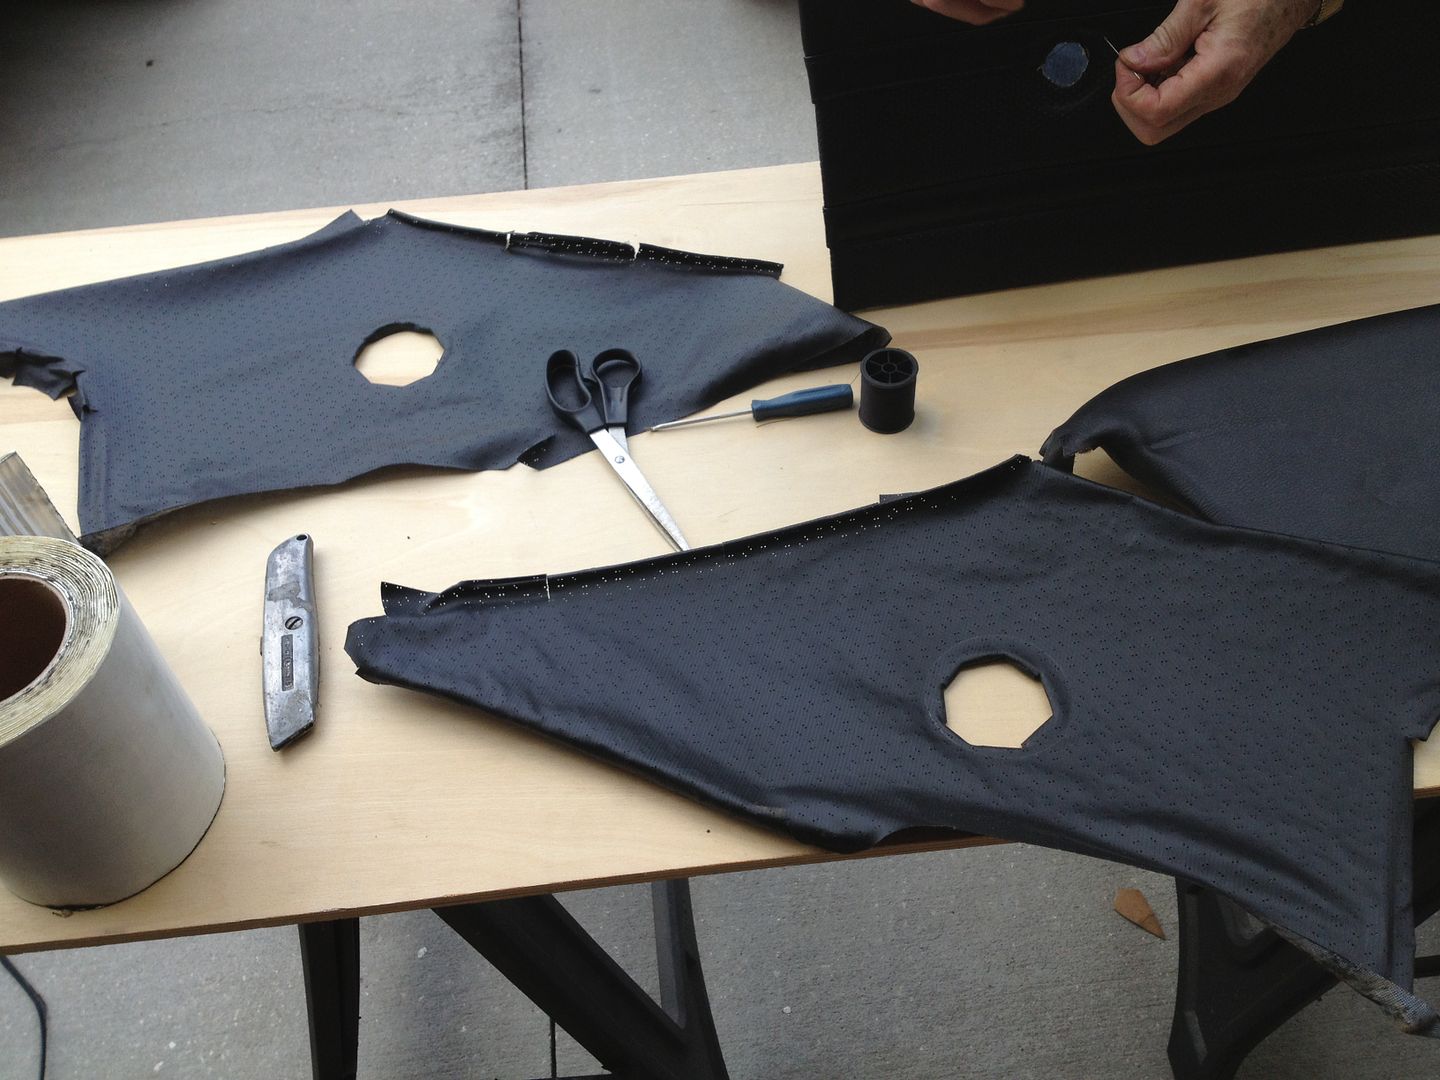
So I started to peel them apart to re-glue and they basically fell part... uh oh.. what do I do now.
I called around (Friday 5:00pm) and could not find any material except for a local company that could overnight it from California for $100... nope.
I had a show Saturday night so I had to do something.

Off to Joann where my wife buys a lot of stuff.
They had some nice vinyl that matched the seats, but no 'wood' or structure material, I got 1/2 yard - $8
Went to Home Depot and found 1/8 fiber board that not too rigid - $5

Using the old ones as a pattern, I cut out new boards

Photobucket

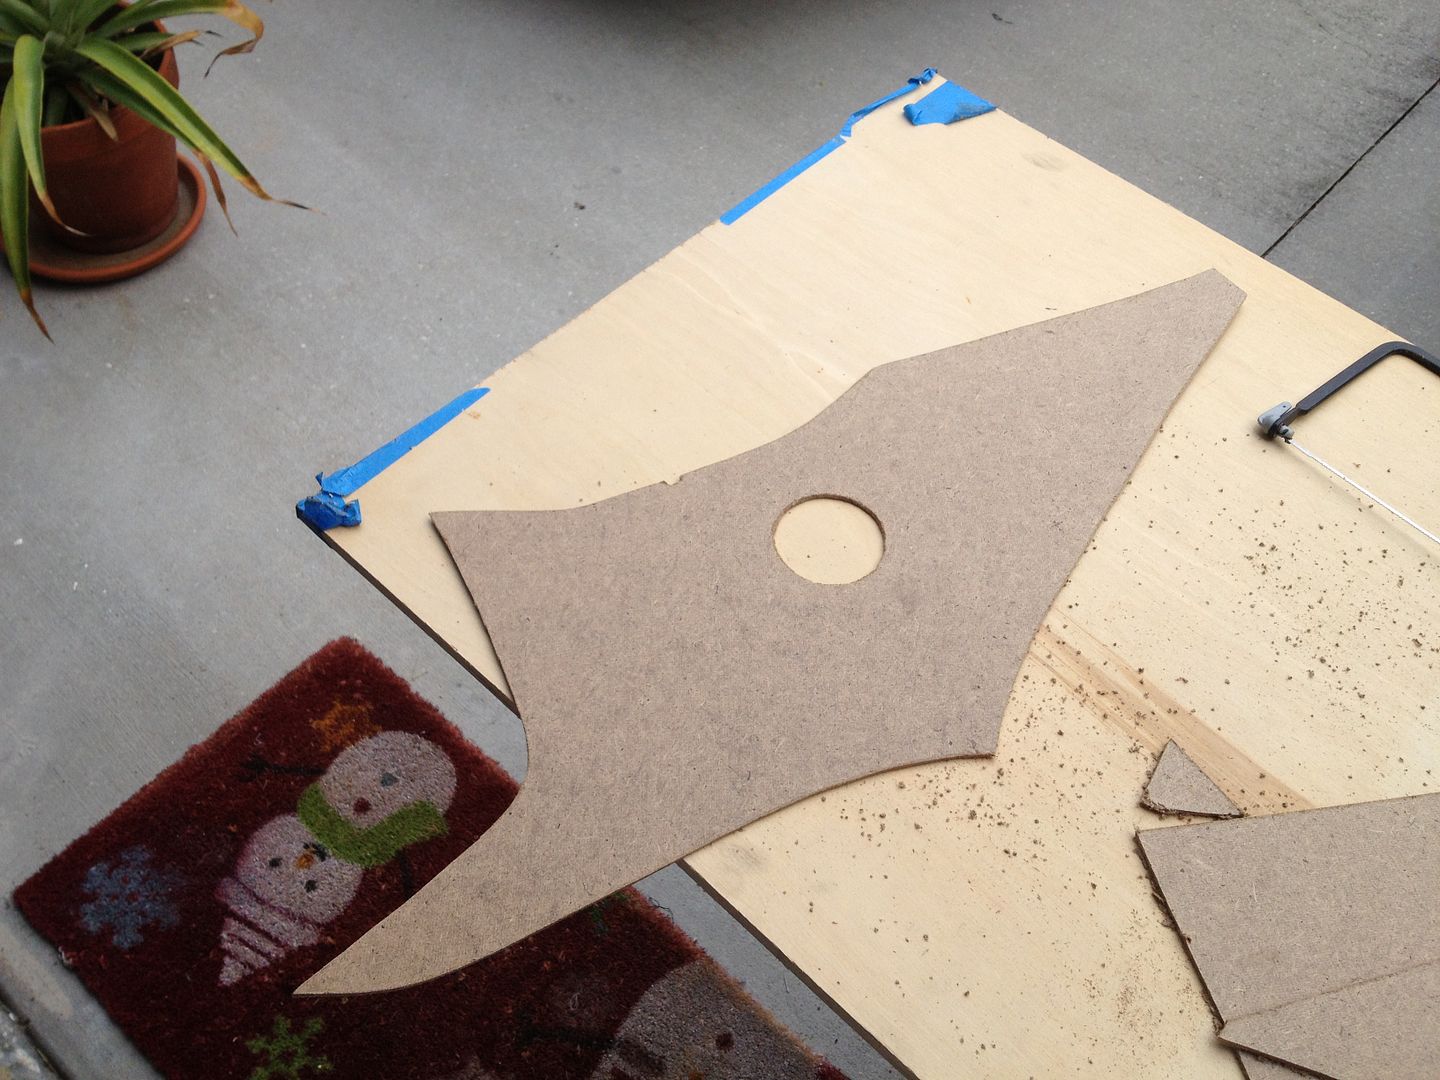
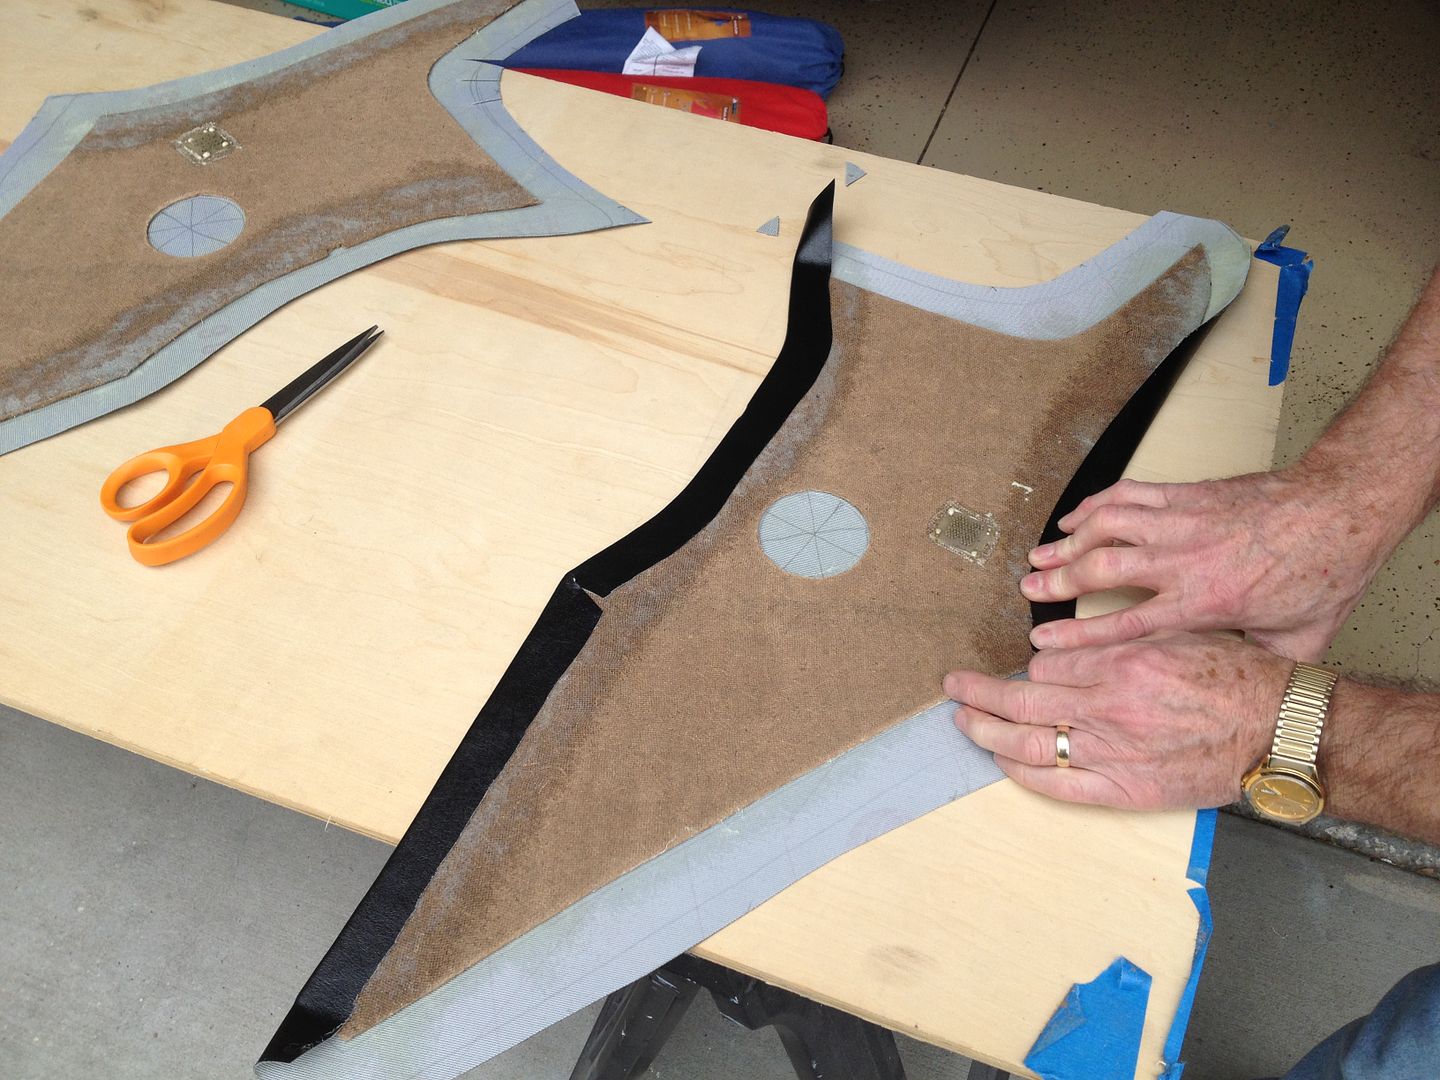
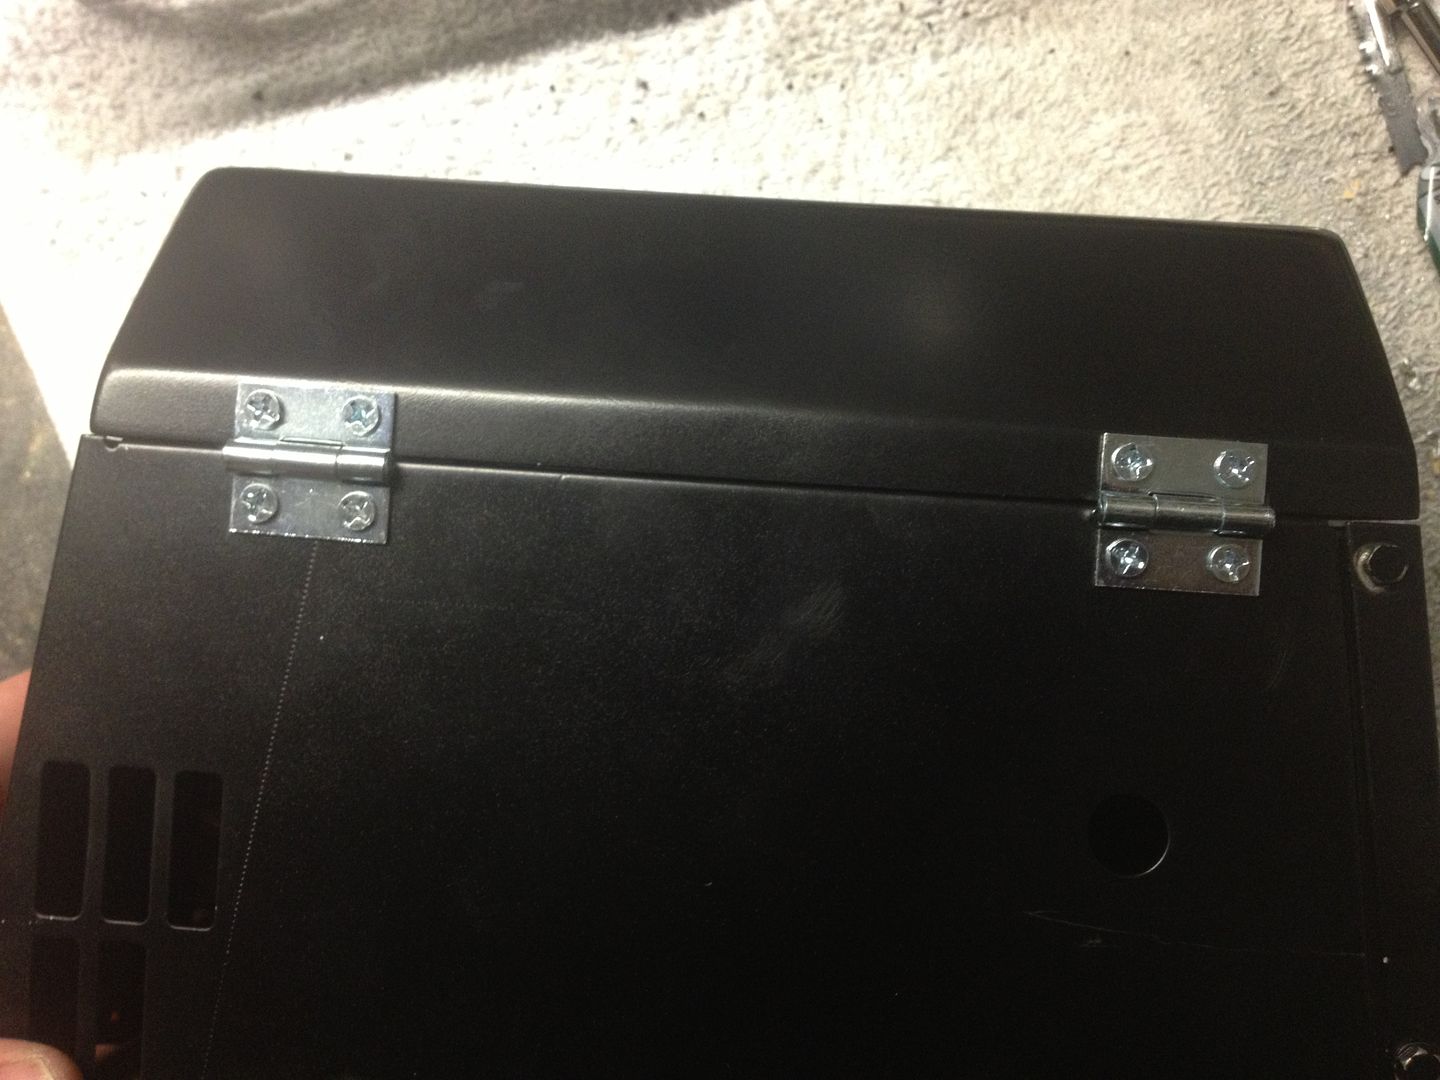
The old ones had this 'velcro' type piece that lined up with one on the car too.
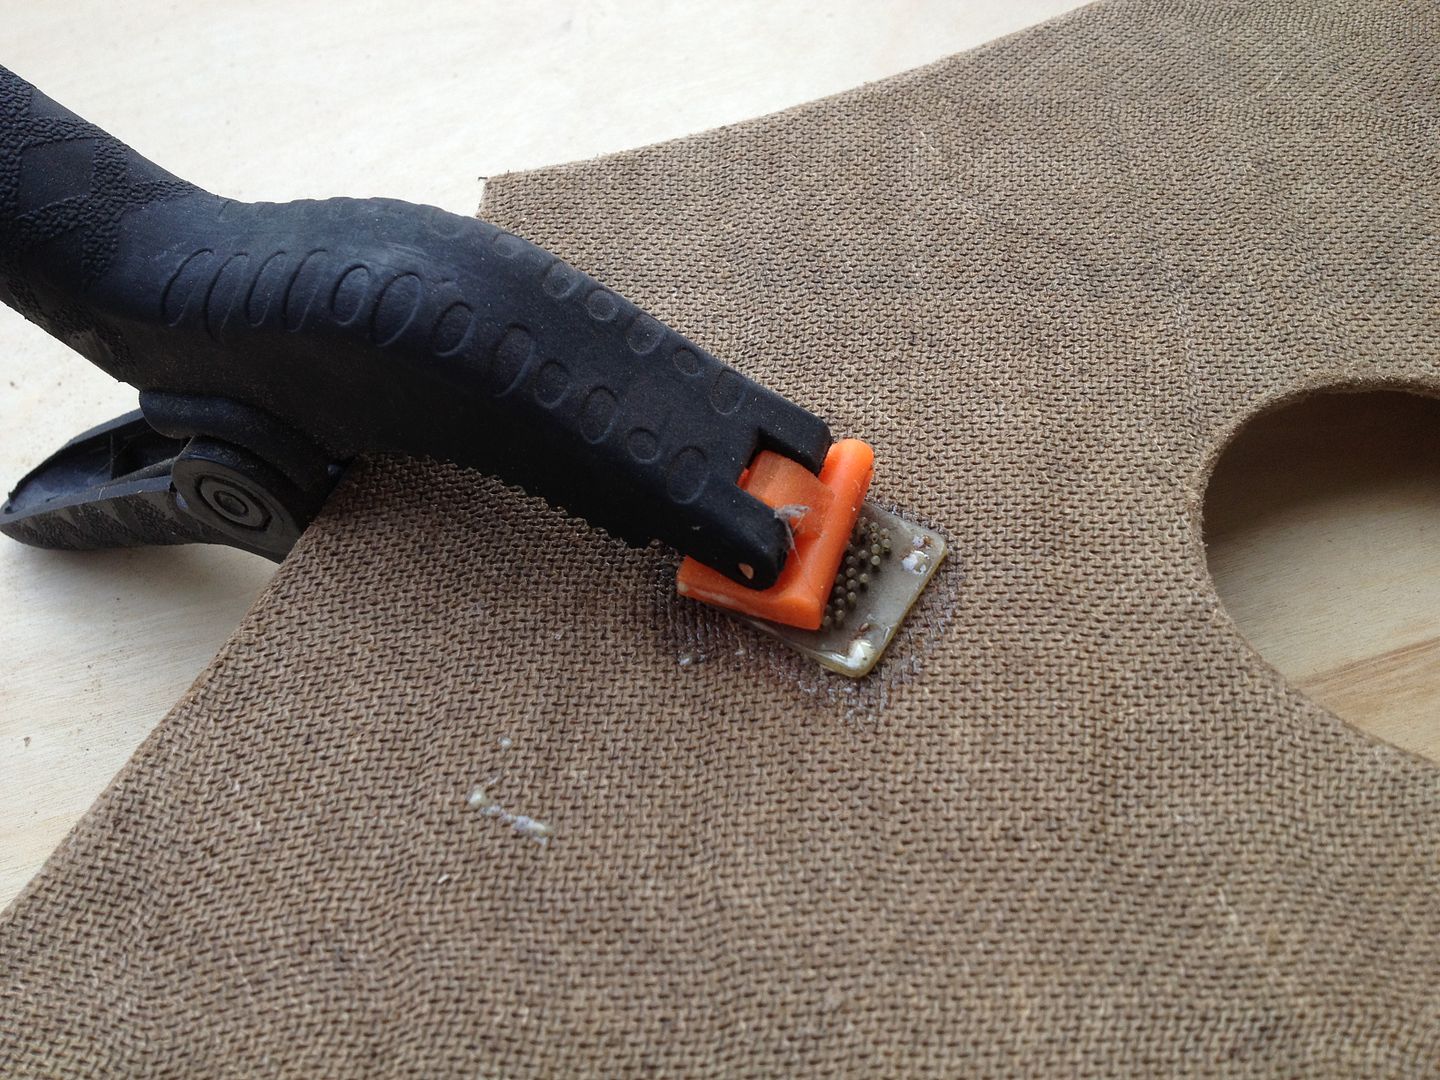
Its stapled to the old panel, I removed it and used Gorilla Glue to attach it to the new panel in the right location
Gorilla Glue expands when drying so you don't need much but is it strong.  Clamp and leave it for a while.

Photobucket


Next I traced out the pattern on the vinyl

Photobucket

Photobucket


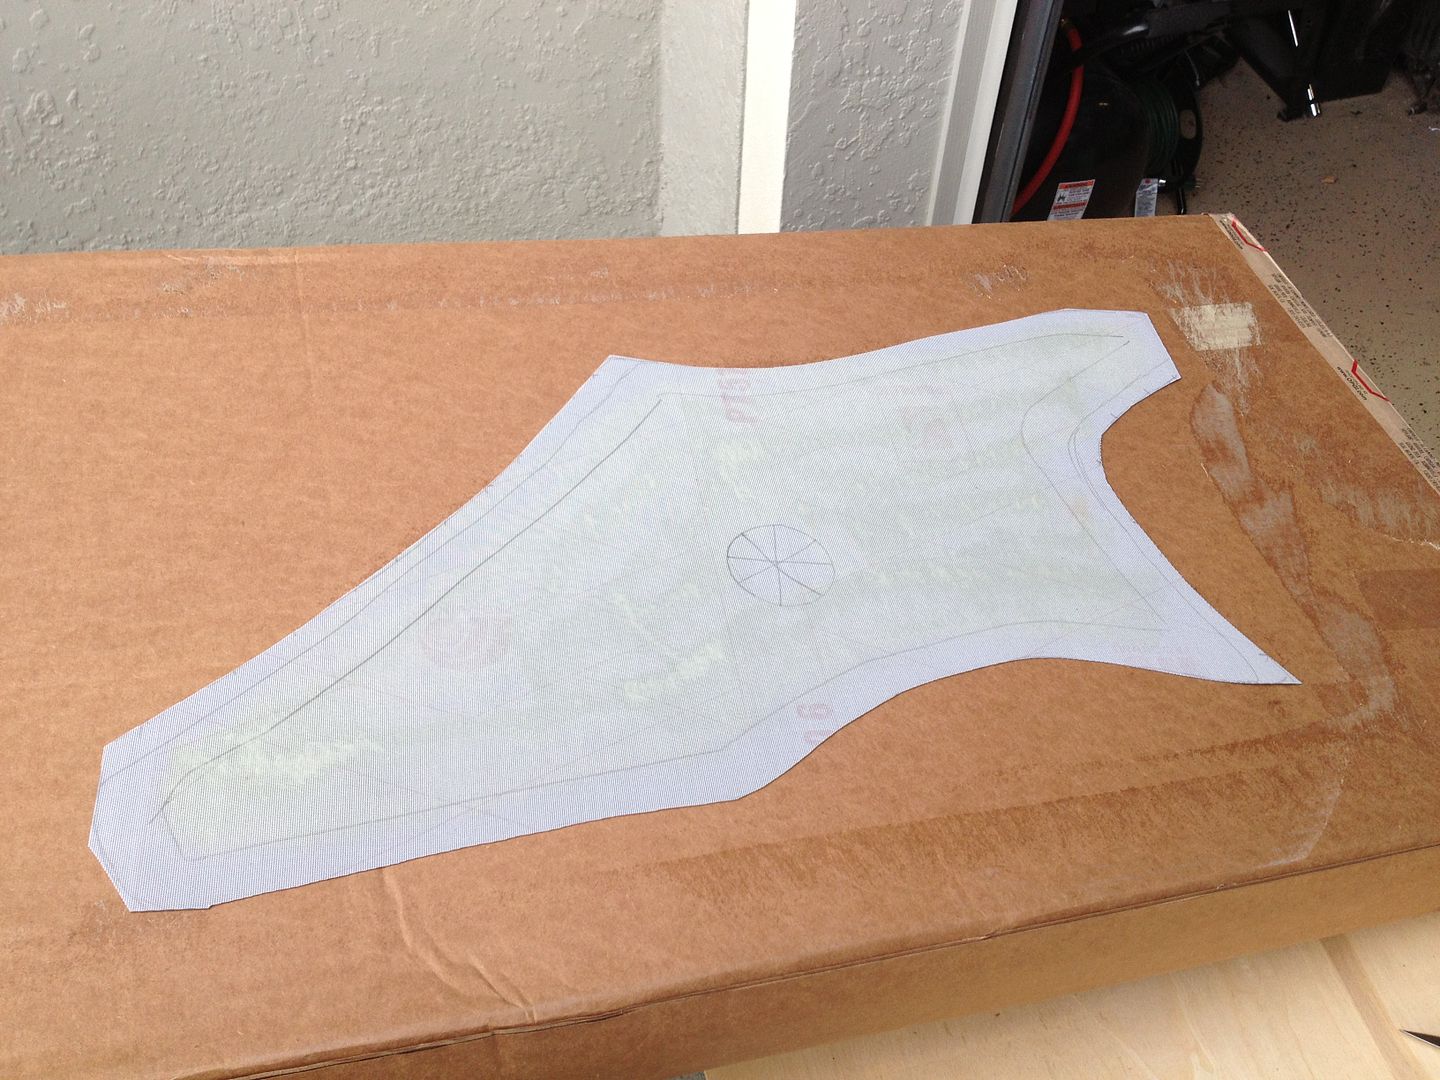
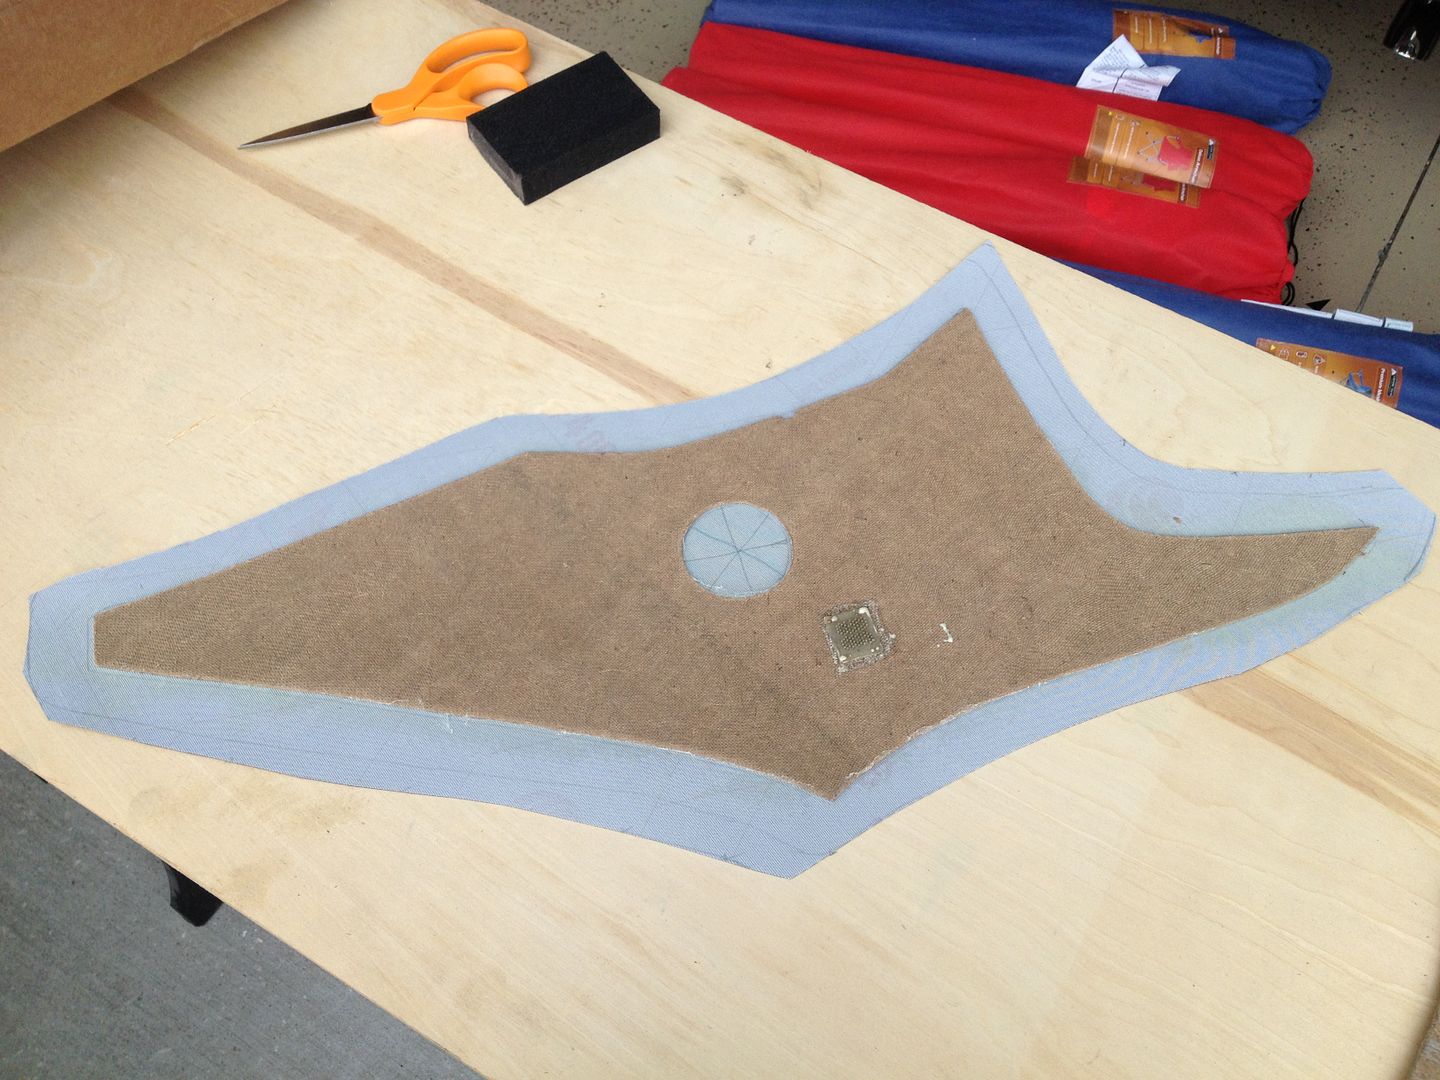
Applied the same 3M 80 glue on both sides, let it get tacky and apply the vinyl

Photobucket


fold in the top and bottom edges only, making relief cuts on some of the curves

Photobucket


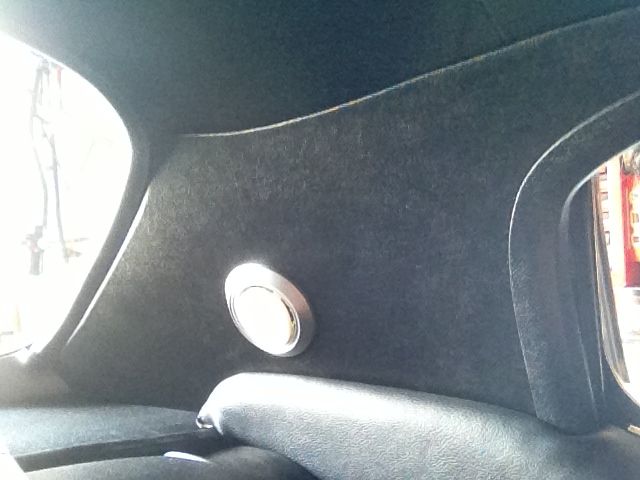
Some cars dont have lights in the sail panels, mine did so holes were made

Photobucket


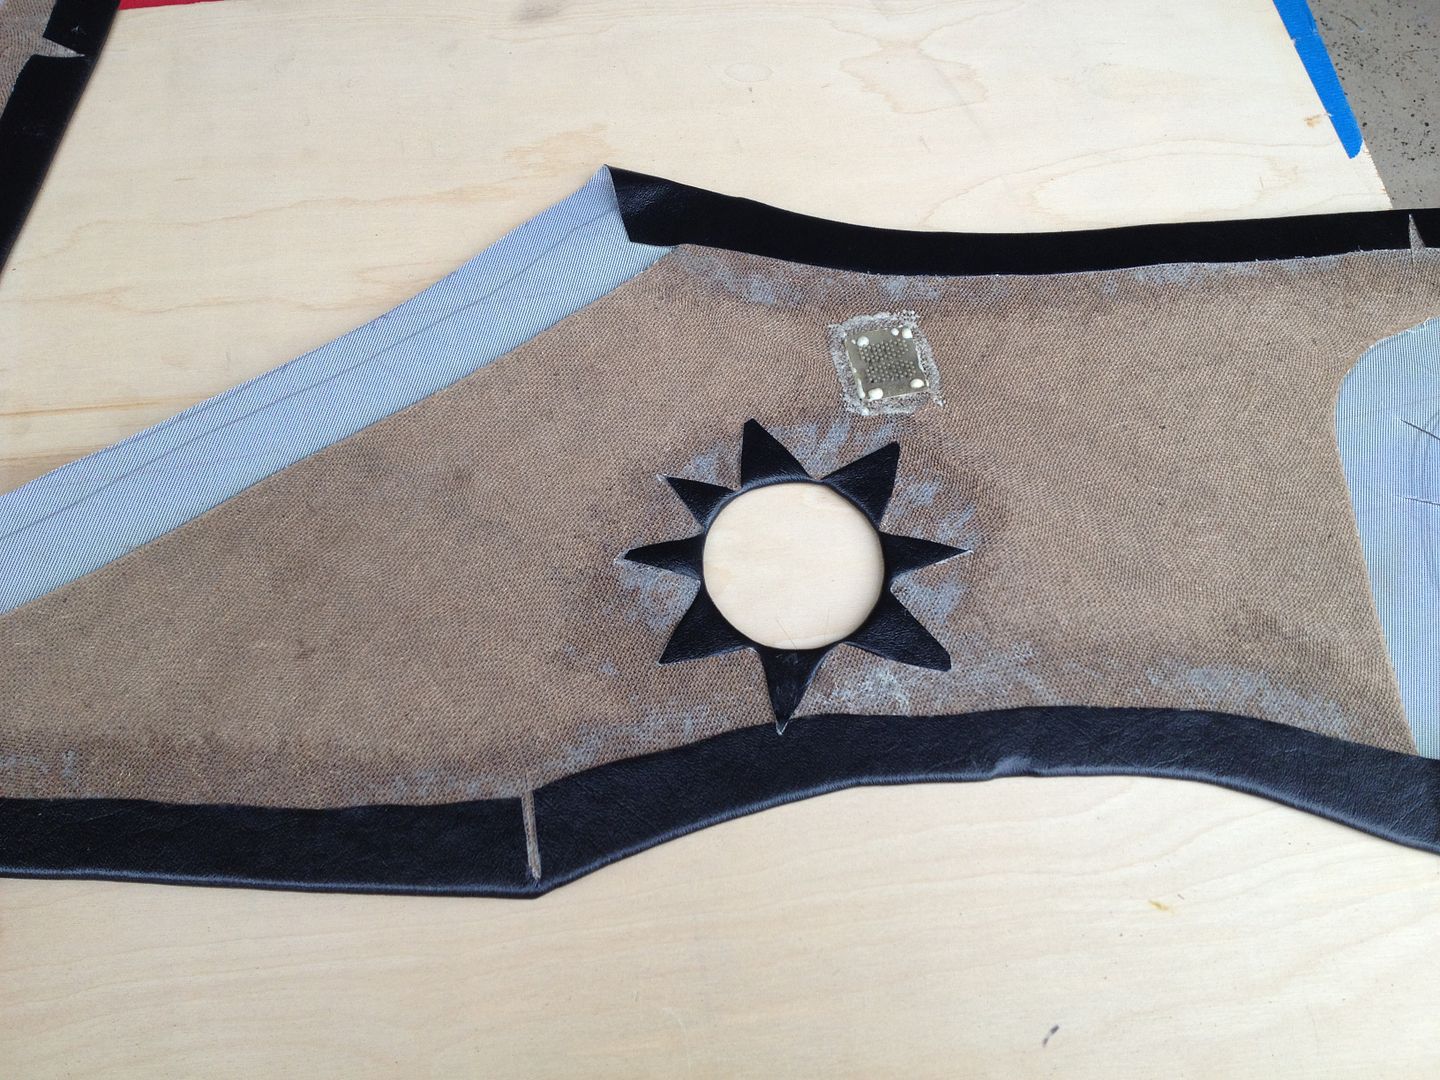
You do not glue front and window edges of the vinyl as that gets held in place with the welting around the windows

Photobucket

Photobucket


In the end it was a nice project, and I got to spend some quality time with my Dad who I only see a few times a year
I got my "car nut certificate" from him

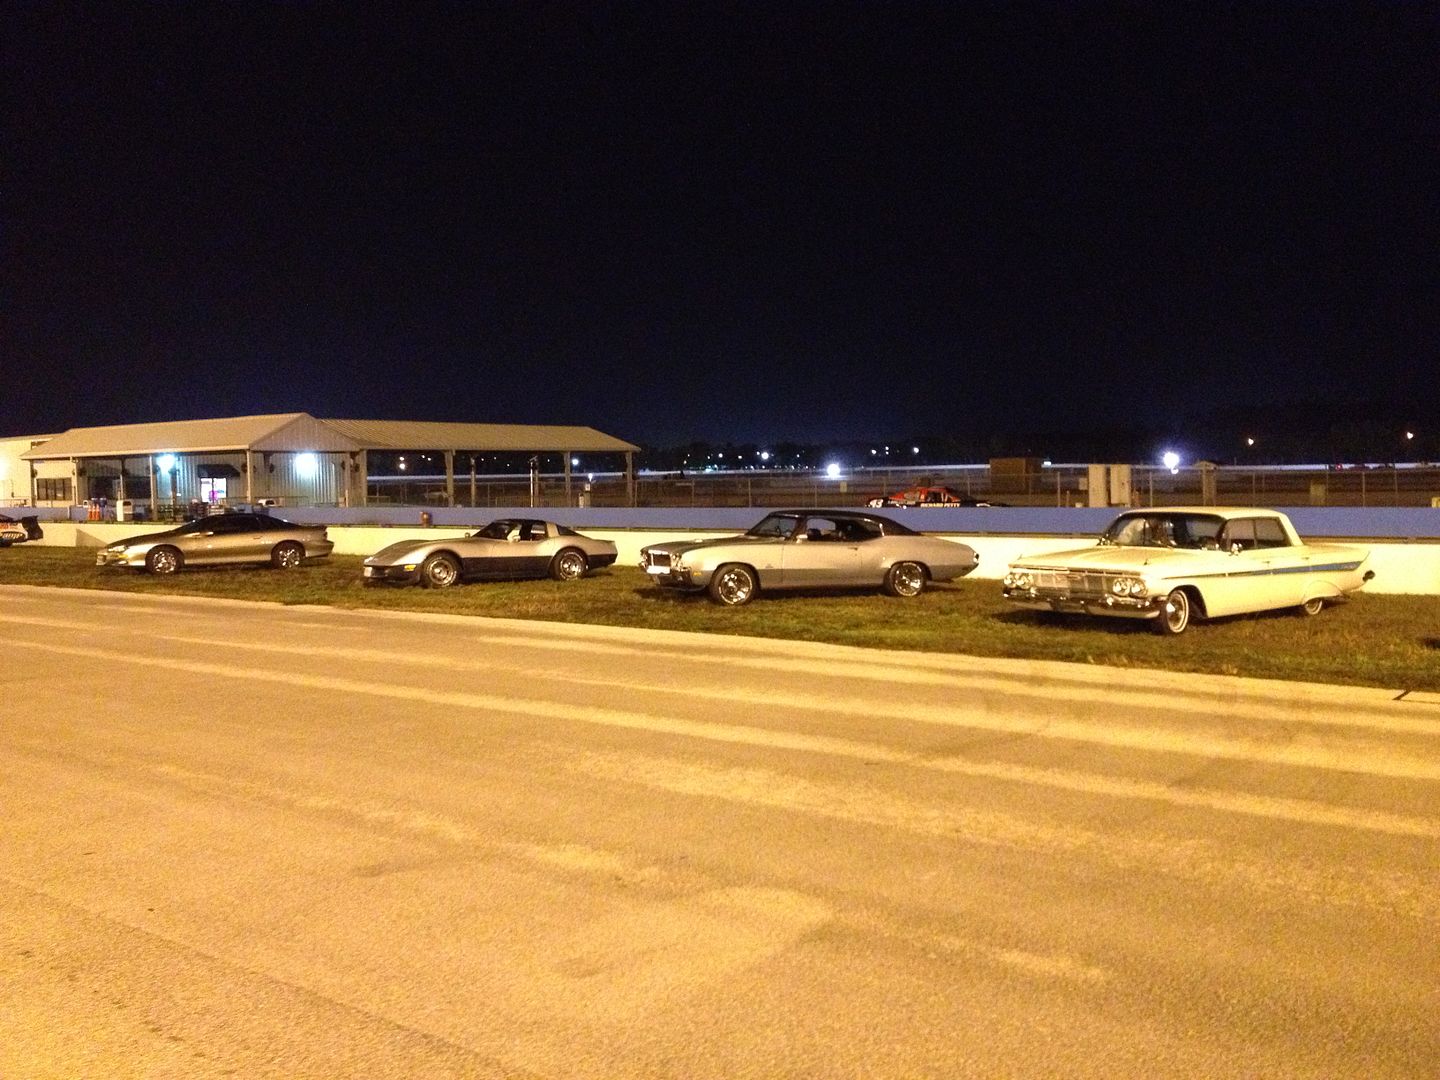
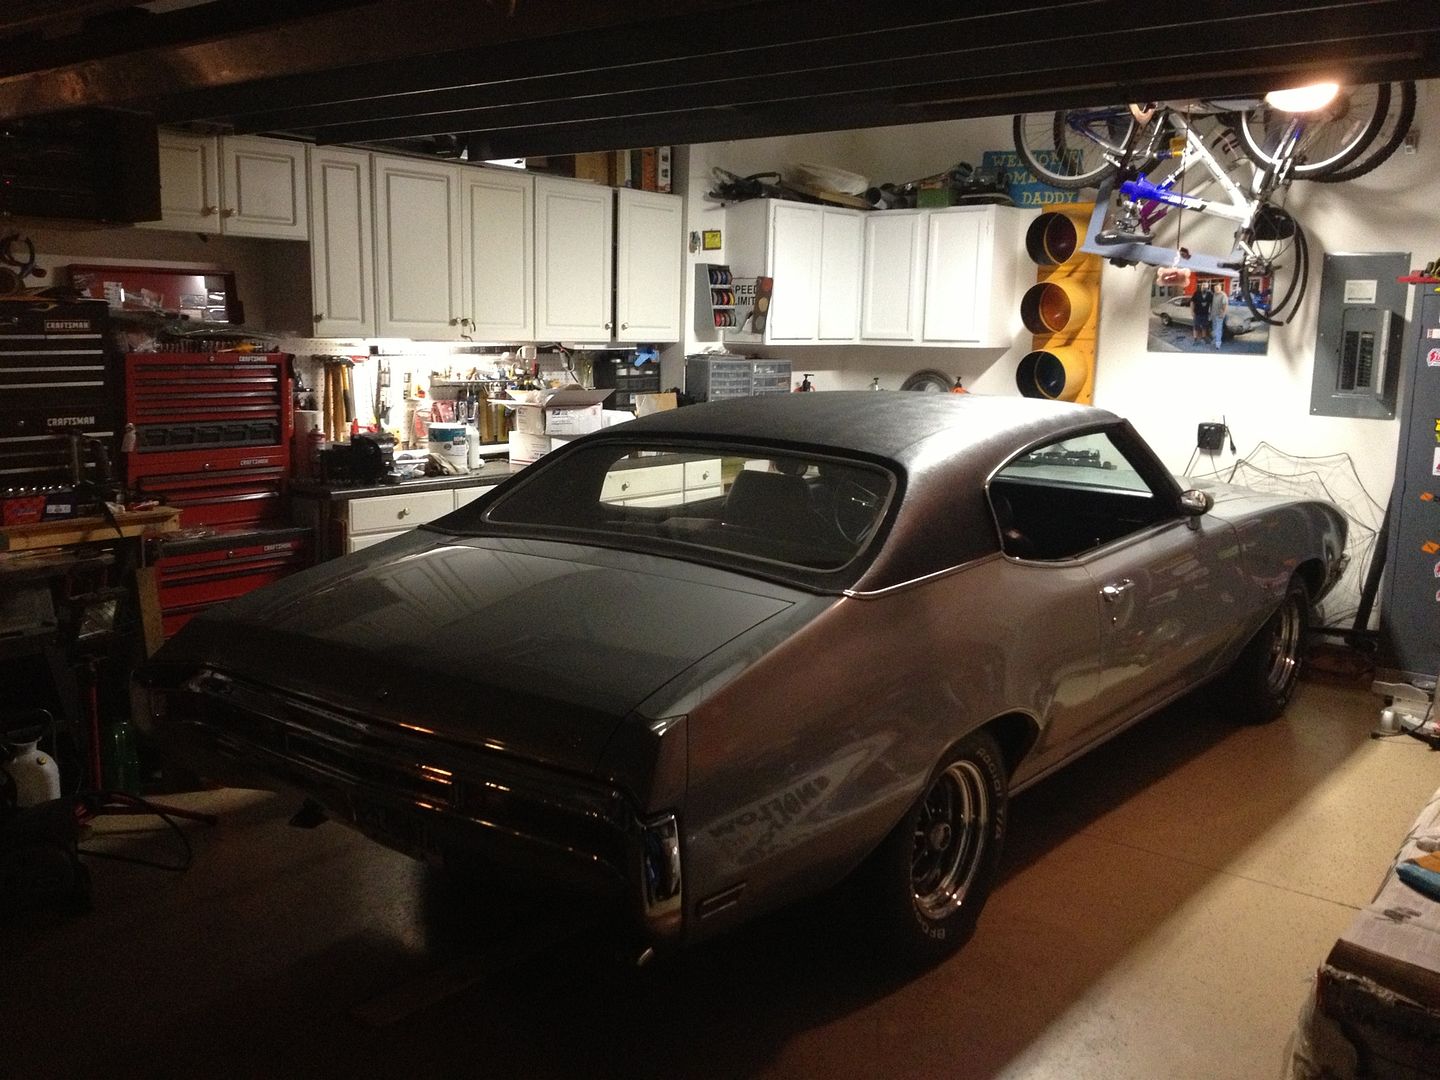
And the show on Saturday night (well actually Sunday morning at 3am) was a success
Invitation only, 75 cars got to park on the Richard Petty Speedway at Disney.  It was the 20th anniversary of the Disney Marathon, and 25000 (yes thats thousands) runners did a lap on the track as part of their 26 mile journey.
We had to be there so early because they wanted us in and setup well before the runners got to the track.
It was awesome, the runners were yelling "Thanks for coming out with your cars!"
I even had some stop to take a picture of mine
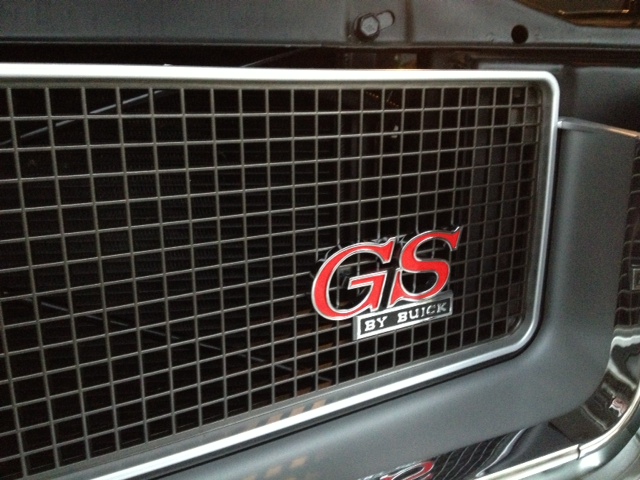
And as usual, the guy yelled "I had an 442 just like that!" and another lady said "Look a GTS!".  I guess thats a cross between a GS and a GTO LOL
But it was great fun!

Photobucket