Friday, October 29, 2010

BOPC Car show Oct 23 2010

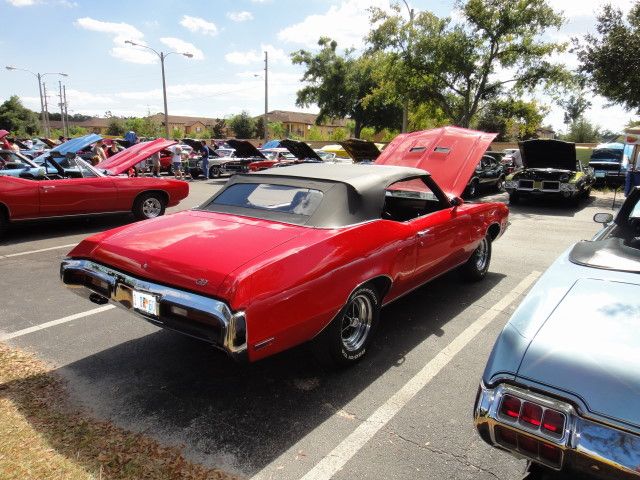
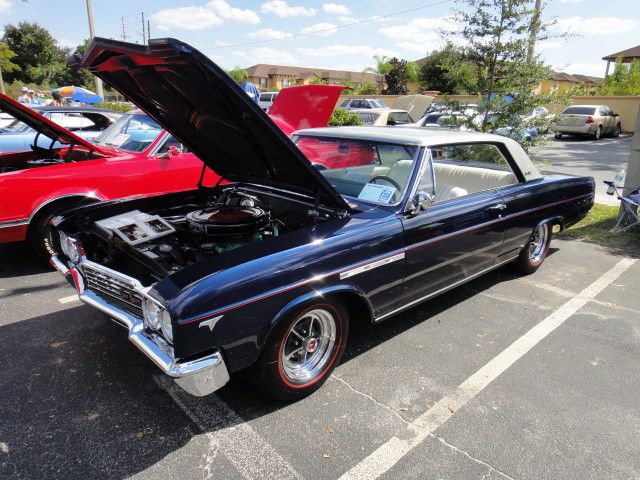
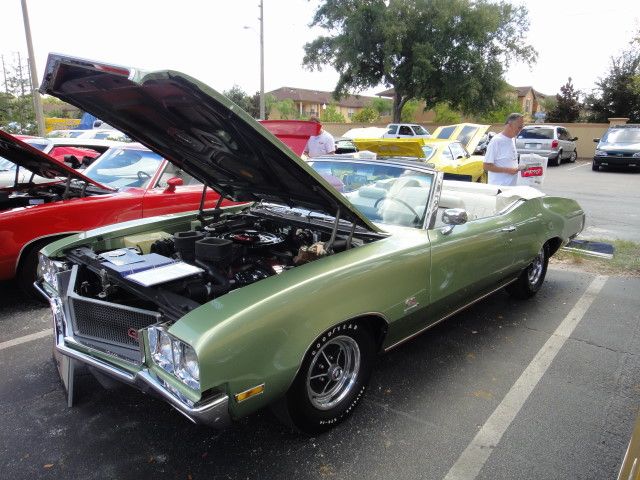
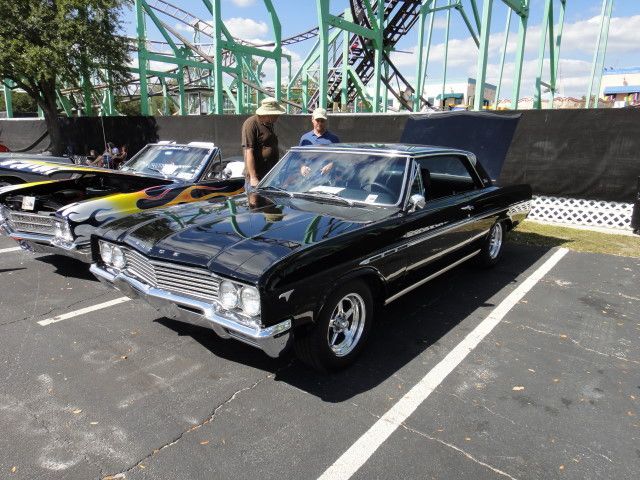
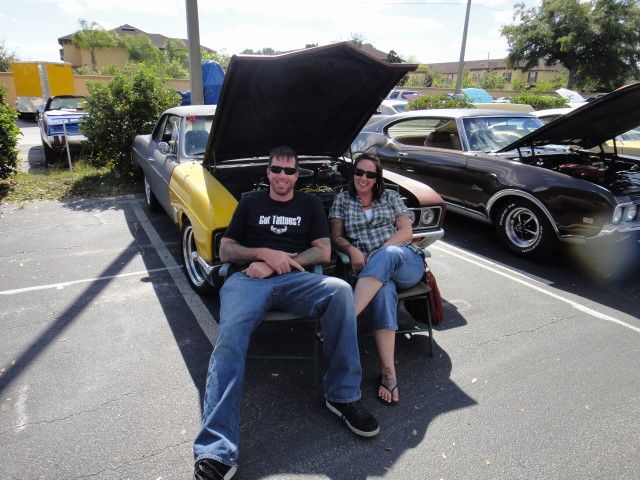
There was a great turn out this year. And a bunch of us from the V8Buick.com board met and drove in together. Unfortunately, this year we were organized by classes so we did not get to park together. That would have been more fun. Here are some pictures.

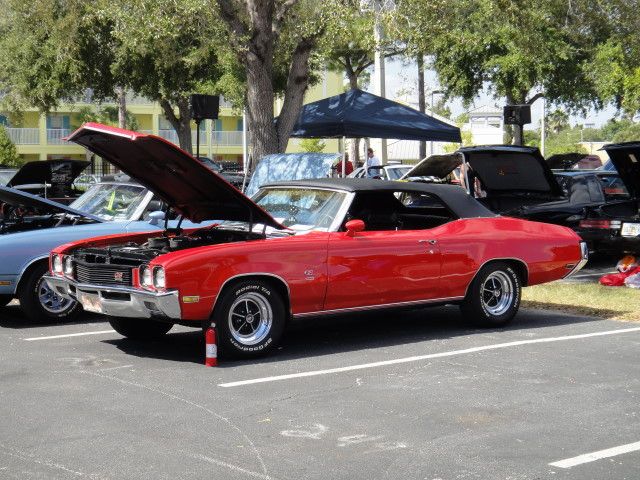
Here's a nice shot of my car, I actually took Best In Class award for 1968-72 Performance Convertible!
DSC01297

DSC01277


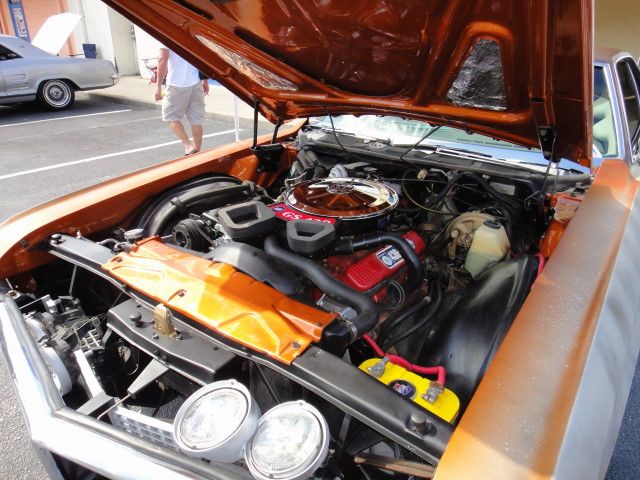
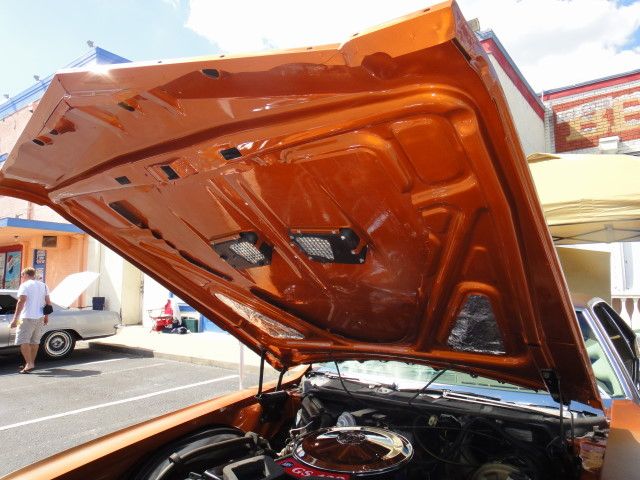
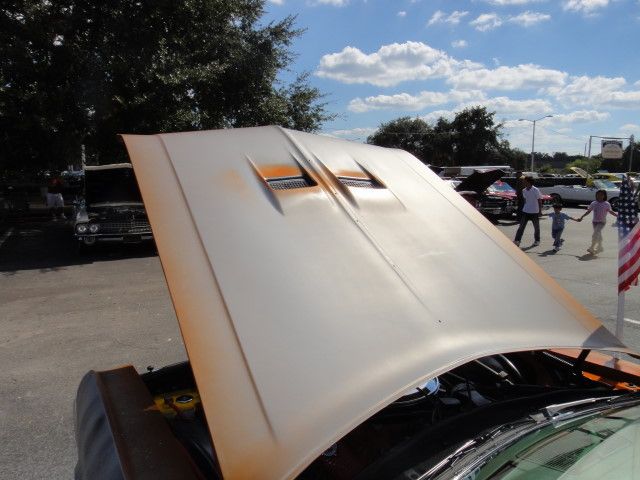
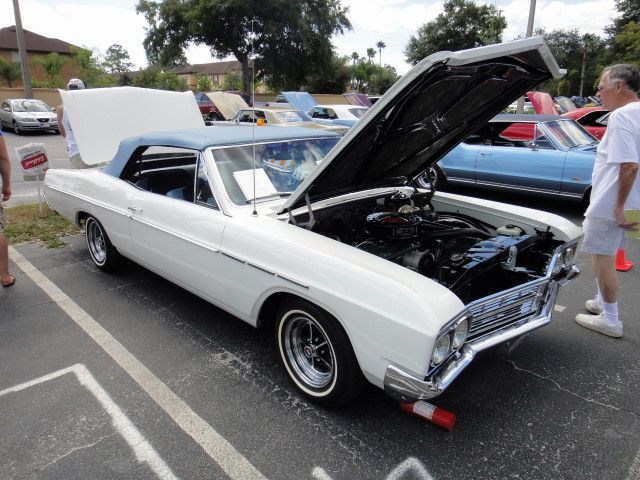
Here's Steve's Riviera with GS hood vents grafted in!

DSC01254


DSC01255


DSC01256


Some other cars belonging to V8Buick board members

DSC01302


DSC01287


DSC01309


DSC01310


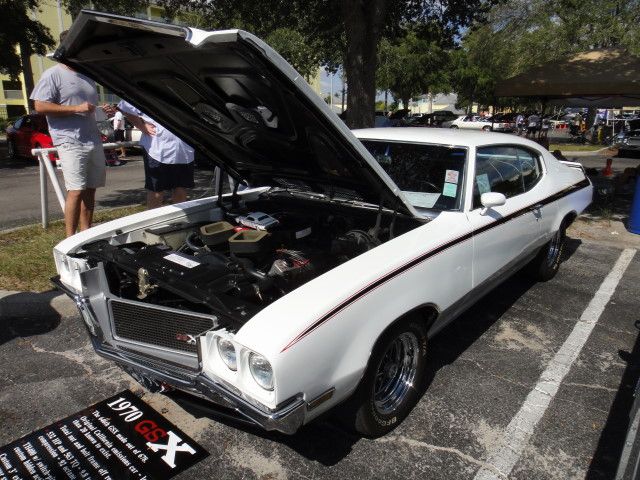
There was even a real GSX there!

DSC01293


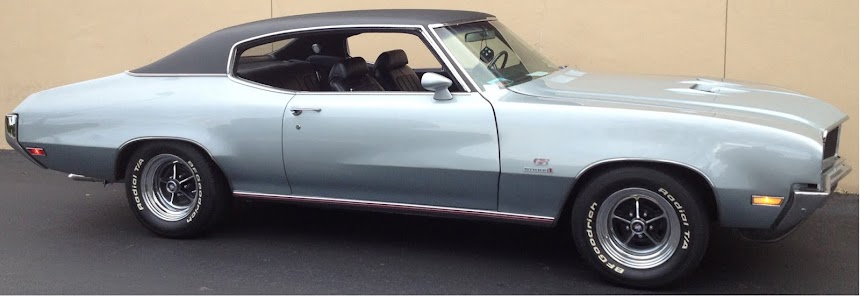
And this little beauty took Best of Show.

DSC01296


Saturday, September 18, 2010

Exhaust is on!


What a week! Baby Paul was born on Monday Sept 13, 1:30 pm, 8lbs 1oz. 21 1/4" long. I had a great week off but we still don't have a routine. he's a good eater, sleeper, and pooper, but night times is awake every 90 mins.

I had the week off and was relieved of my dad duties for an afternoon. Decided to have the exhaust installed on the Buick.

Its a 2.5" cross over stainless steel system by Magnaflow.
The shop did an excellent job, very particular of their work, and I'm very happy.

The whole system is welded too. The N25 tips took some time to get right, but the installers knew what they were doing. Its very strong and sounds amazing.

You be the judge...

(I just noticed I need to replace a brake light)


Black marks? What black marks?

Tuesday, August 10, 2010

Well not much has been happening.
I have sourced motor mounts and frame pads, and I have a 455 fan shroud. I think that's about it for required parts. Its just a matter of switching cams and heads and doing another test run before the final clean up and paint.

I also bought 6 cans of Buick Red paint so I'm ready for the job.

Also, I have a new 2.5" stainless x-over Magnaflow exhaust to go on too! Im not waiting for the new motor for this, I plan to have a shop put this on very soon.

Monday, April 19, 2010

I got some time last night to check out under the column on the Buick (previously converted from column shift to console by a previous owner)

My reverse lights never did work. Just like in a column shift car there is supposed to be linkage from the column to the trans. But its purpose is reversed.
When I move the console shifter, the linkage would in turn move the column collar, and thereby move the gear indicator on the dash and neutral starting switch too.

The linkage was never added from the trans to the column to activate the collar inside

so I always figured once I added that linkage (its on a shelf in the garage, won from an ebay auction about 3-4 yrs ago) everything would work.
There was a recent thread on the Buick board that suggested to go turn the collar manually.

Well I tried it.. no reverse lights

so I positioned myself on my back under the dash to find out why. the switch was there, it was hooked up too. no lights

I had a new switch purchased a few years ago in preparation for this time.
Took out the old, tried to put in the new and it would not fit.
The electronic part was the same, but the mounting holes were different.

so I ended up switching the mounting part which is the whole back of the switch.
Took the old one apart first, BOING little pieces everywhere. Took more care on the new one, and was able to put the mount from the old on the new electronic mechanism.

installed and when I manually move the collar on the steering column, I have LIGHTS when in the reverse position!
Now I have incentive to hook up the linkage
And...as a bonus, you cant start it when in the R or D position LOL like I can now!
and cant remove the key unless in P

Tuesday, April 13, 2010


Finally was able to put together an upper rad hose (a very odd shape) by combining 3 pieces with some exhaust tube for joiners

I went to the junk yard today, got some scrap Rad hose pieces and a small piece of exhaust pipe off a Civic to join them up.


Cold start, had 60 psi oil pressure - happy with that

After a few minutes, I had 190° and still 50 psi


After 10 minutes it reached 200°, switched on the fan, and it dropped to 180° and then climbed to 190°-195° and stayed steady for 5 more minutes.

At 15 minutes, it was at 195°, oil pressure was 30 psi, at 1000 RPM
if I increased RPM's Id get 50 psi of oil pressure. Then back to 30 at idle.

I think these numbers sound good!

Friday, March 19, 2010


The mufflers are on
Much more quiet, but I had a nasty exhaust manifold leak.
Took it off for a new gasket, broke two bolts. Hours and Hours later after breaking a bolt extractor in one of the holes too, the manifold was back on and its great.
The effort continues!

Wednesday, March 10, 2010

It Lives!!!!

11:00 pm
March 10 2001

Oil - check
Ignition - check
Fuel - check
mufflers... ugh nope

stand back... Vroom!

The evening started when Doc came over.
We removed the intake, re-sealed it and re-installed it.
Installed the carb and fuel line.
Plugged all the vacuum ports.
Put in the Distributor, wired it and made an educated guess at the timing that worked out well.
Created an upper radiator hose using 1 1/4" PVC pipe for the U-turn that was required

We didn't have water in it for this test, we were to anxious to see if it would attempt to start and did not think really that it actually would start.

So this week, I will create some exhaust and fill with water so we can run for longer. Plus it will be alot quieter so we can hear the motor.

Monday, March 8, 2010

Went to the junk yard on Saturday.
I got the dual exhaust off a Thunderbird V8 so I have matching mufflers. They are a nice smaller size too.
Picked up some heater hose, wire looming, radiator hose and fuel line - $22 not bad!

Notice how neat the wire looming makes it.
The head pipes I had kicking around the garage.

Saturday, February 27, 2010


Raining out today, so nothing new to post. I do need to get to the junk yard and pick up some things.
- Mufflers
- fuel line
- wire loom

Once I have everything I need, its just a matter of putting it together. I do have to put an intake gasket on the motor before I can attempt to start.

But the stand is wired up already and I have turned the motor over with the starter.

The engine stand is basically all setup. Gauges are in place (Tach, oil pressure and temperature) and a switch for the electric fan.

The wiring was not as hard as had thought it would be.
Everything works and I even have the alternator wired so it should charge as it runs too .

I do need to source an upper radiator hose. I have a feeling Im going to have to make it from a plastic pipe and just use rubber hose to connect it on the ends as the shape needed just wont work with an all rubber hose without kinking.


The lower rad hose worked out well with one I got with the radiator from the junk yard. Its actually out of a 95 Dodge Caravan, but it was aluminum, came with the fan and the right size I needed for the engine stand.

Friday, February 26, 2010

My first post - A summary since 2005

Since that time I have done some cosmetic restoration.

Parts of the front suspension were cleaned and painted

New brakes all around


This was the front suspension clean up while I re-did the brakes and wheel cylinders.


I took the motor out for a clean up and new seals and gaskets.

Before


Using a wire brush I cleaned the block, new timing chain, new water pump, all new gaskets. Correct Buick Red paint was used. At this point Im ready to start putting the accessories back on.


While the motor was out, the transmission was also stripped and cleaned. New seals in the transmission too.


With the accessories all attached, it looked beautiful. A piece of art!


With the help of my neighbor, Dr. Lopez (I call him Dr.) we slipped the motor and trans back in. We bolted the trans on first and put them in together.

The engine bay was also cleaned, painted and detailed.


Ready to be installed


This is my neighbor - Dr.


Finally back in its spot with all the accessories bolted on.


Last fall we had some family pictures taken at Rawlins College near downtown Orlando. I took the Buick and we had some pictures taken with it. Here's one of my favorties that I took of the car by itself.


And here's one with my two favorite girls.


So all this seems like a lot for a first post. But that gets you up to speed to where I am today... Well almost. The car currently has its original 35o cubic inch engine. Its numbers matching and there is nothing wrong with it. But the motor everyone wants is the Buick 455!

So....Im in the process now of putting together a 455 that was taken out of a 1972 Buick Riviera before I purchased it. I have another identical engine for parts, and a couple of 1973 blocks and rotating assemblies if I need them.

The 455 from the Riviera is currently on an engine test stand that I'm slowly putting together. It has a radiator, battery, fuel cell, gauges etc. Everything needed to run the motor outside the car. Once the engine tests successfully I'll tear it down for a soft rebuild. Basically, I'll put in all new seals and gaskets, then paint just like what I did with the 350 above.


Here is a teaser picture that will start off the next major project - a 350 to 455 engine swap


In this picture, there are actually four 455 motors...LOL
So My posts starting after this will be of getting this motor started on the stand. And if it checks out, I'll continue with more pictures and posts of its restoration